Body
1. Navigate to the TeamDynamix Work Management site and login when prompted.
Dashboard Navigation
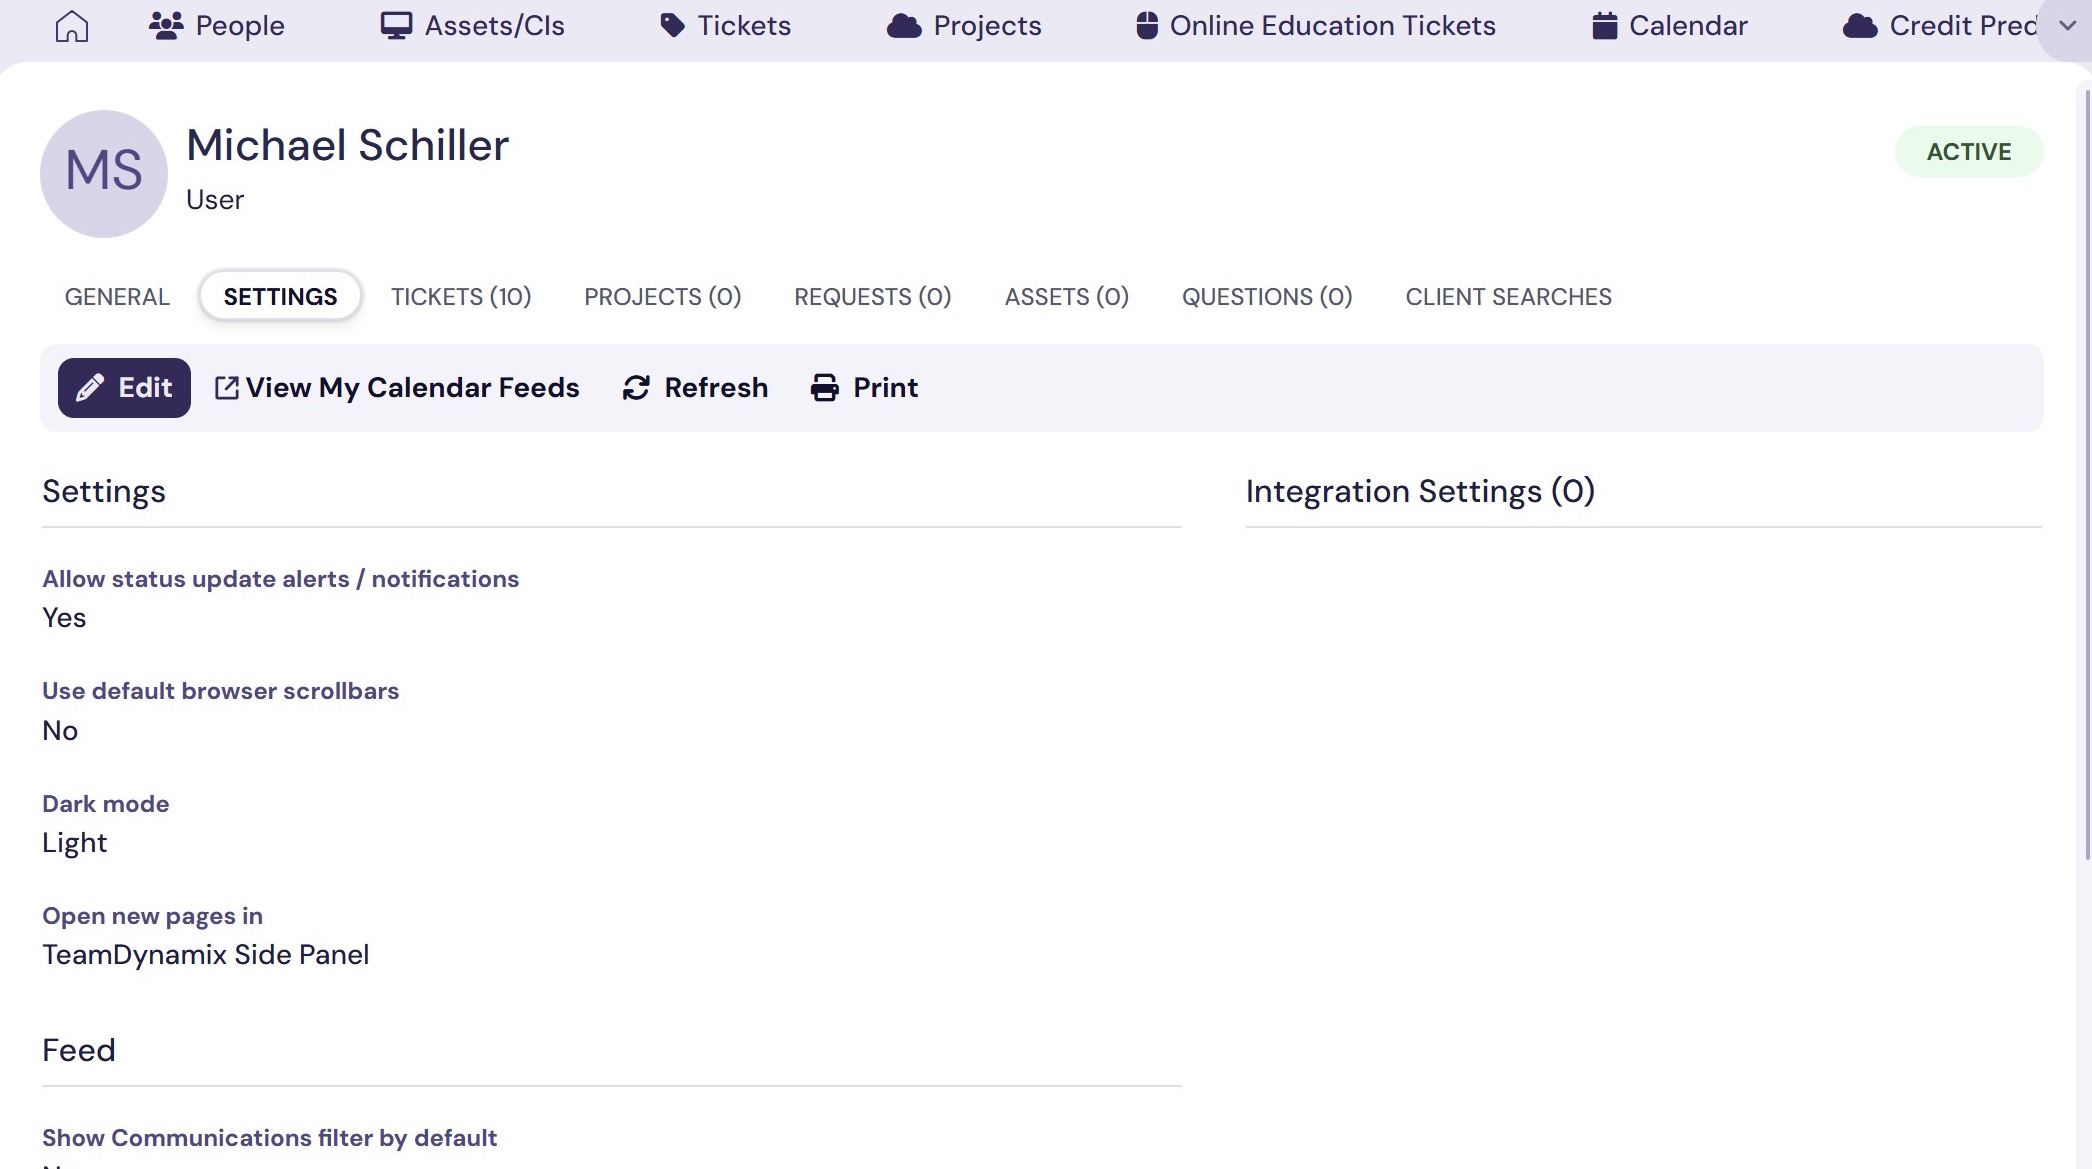
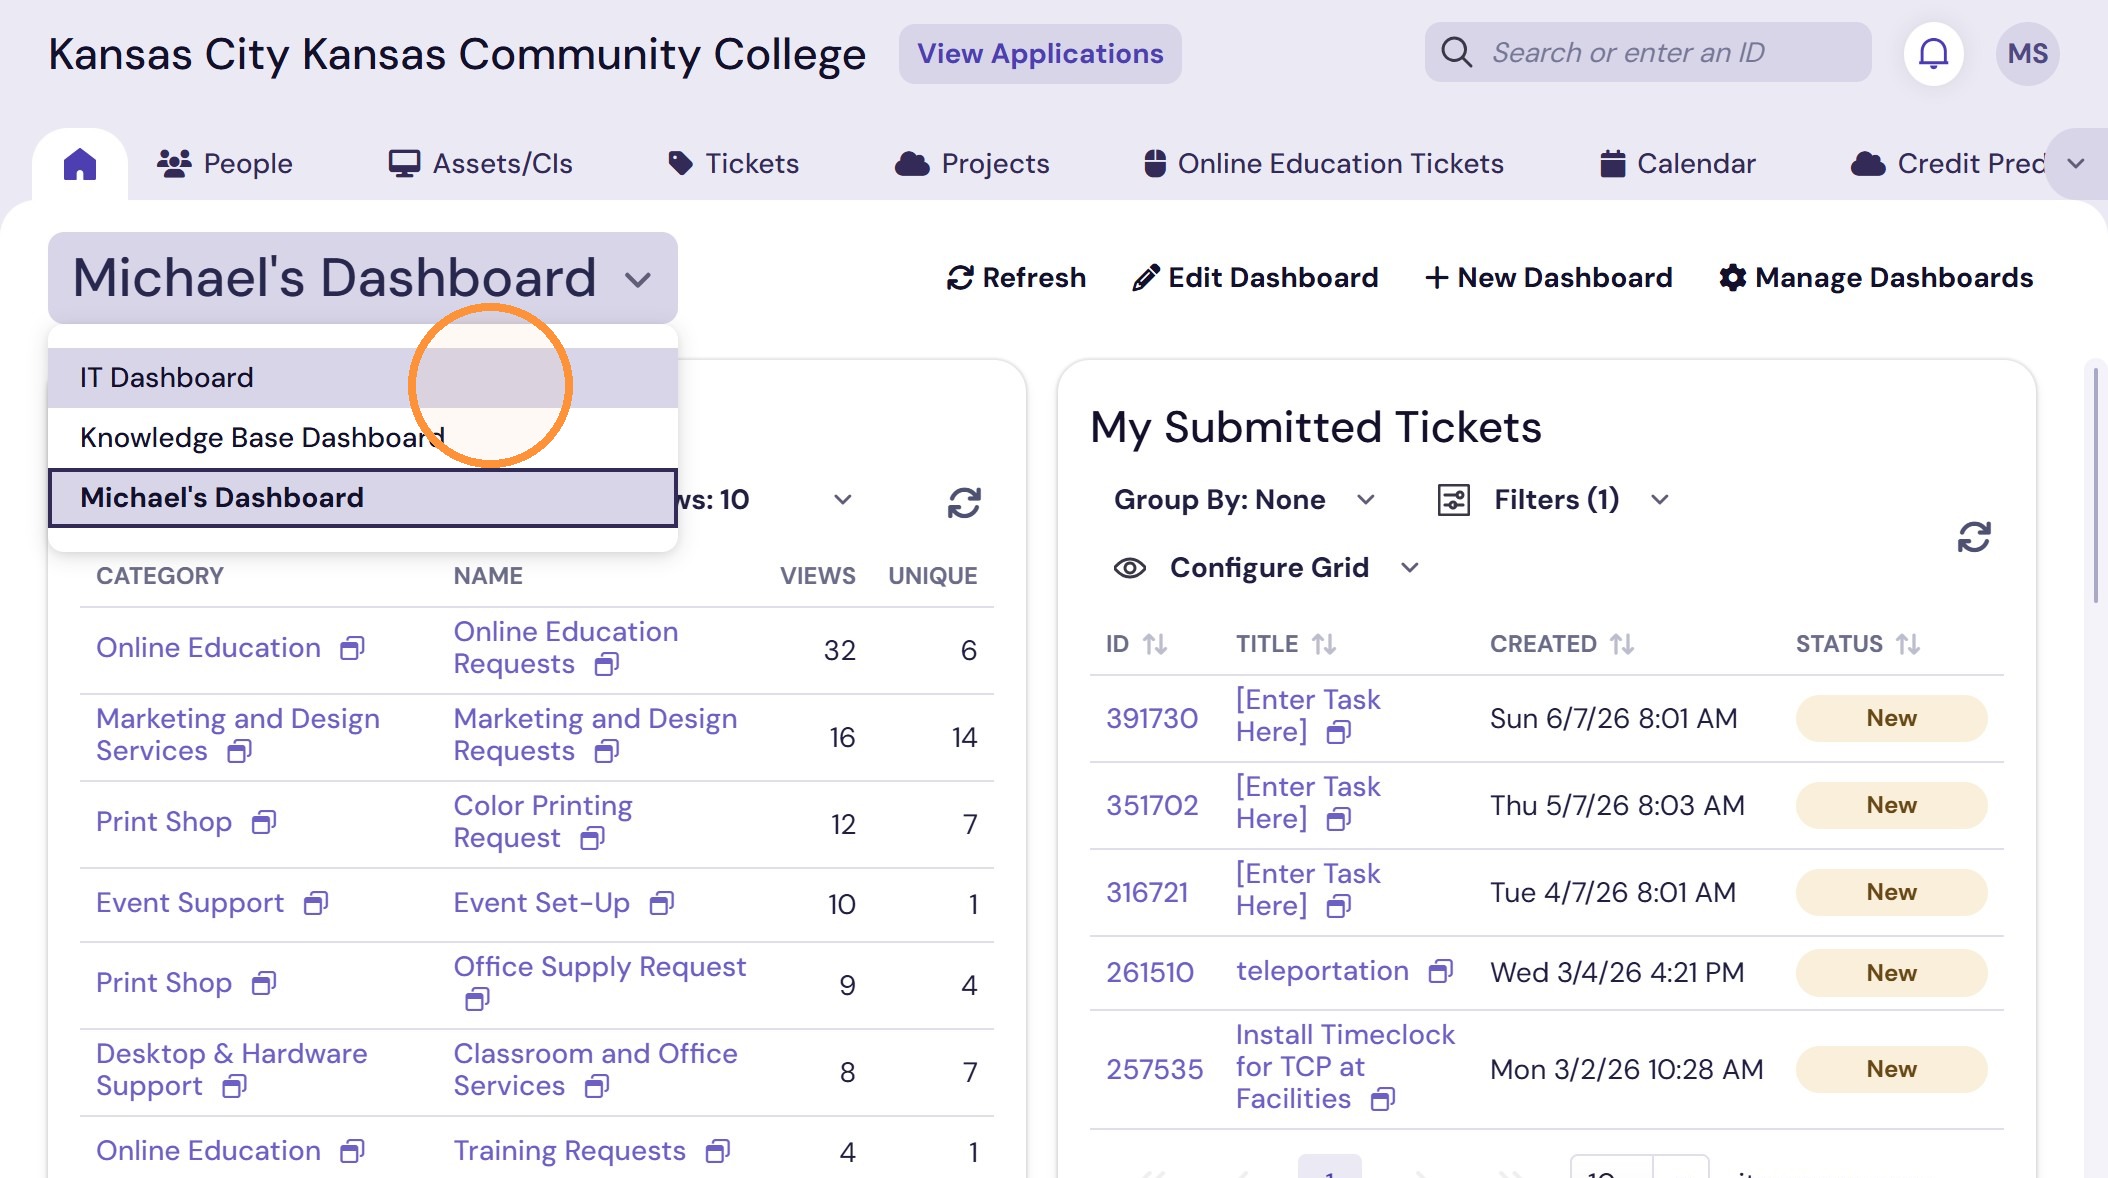
2. Click Home to view your dashboards.
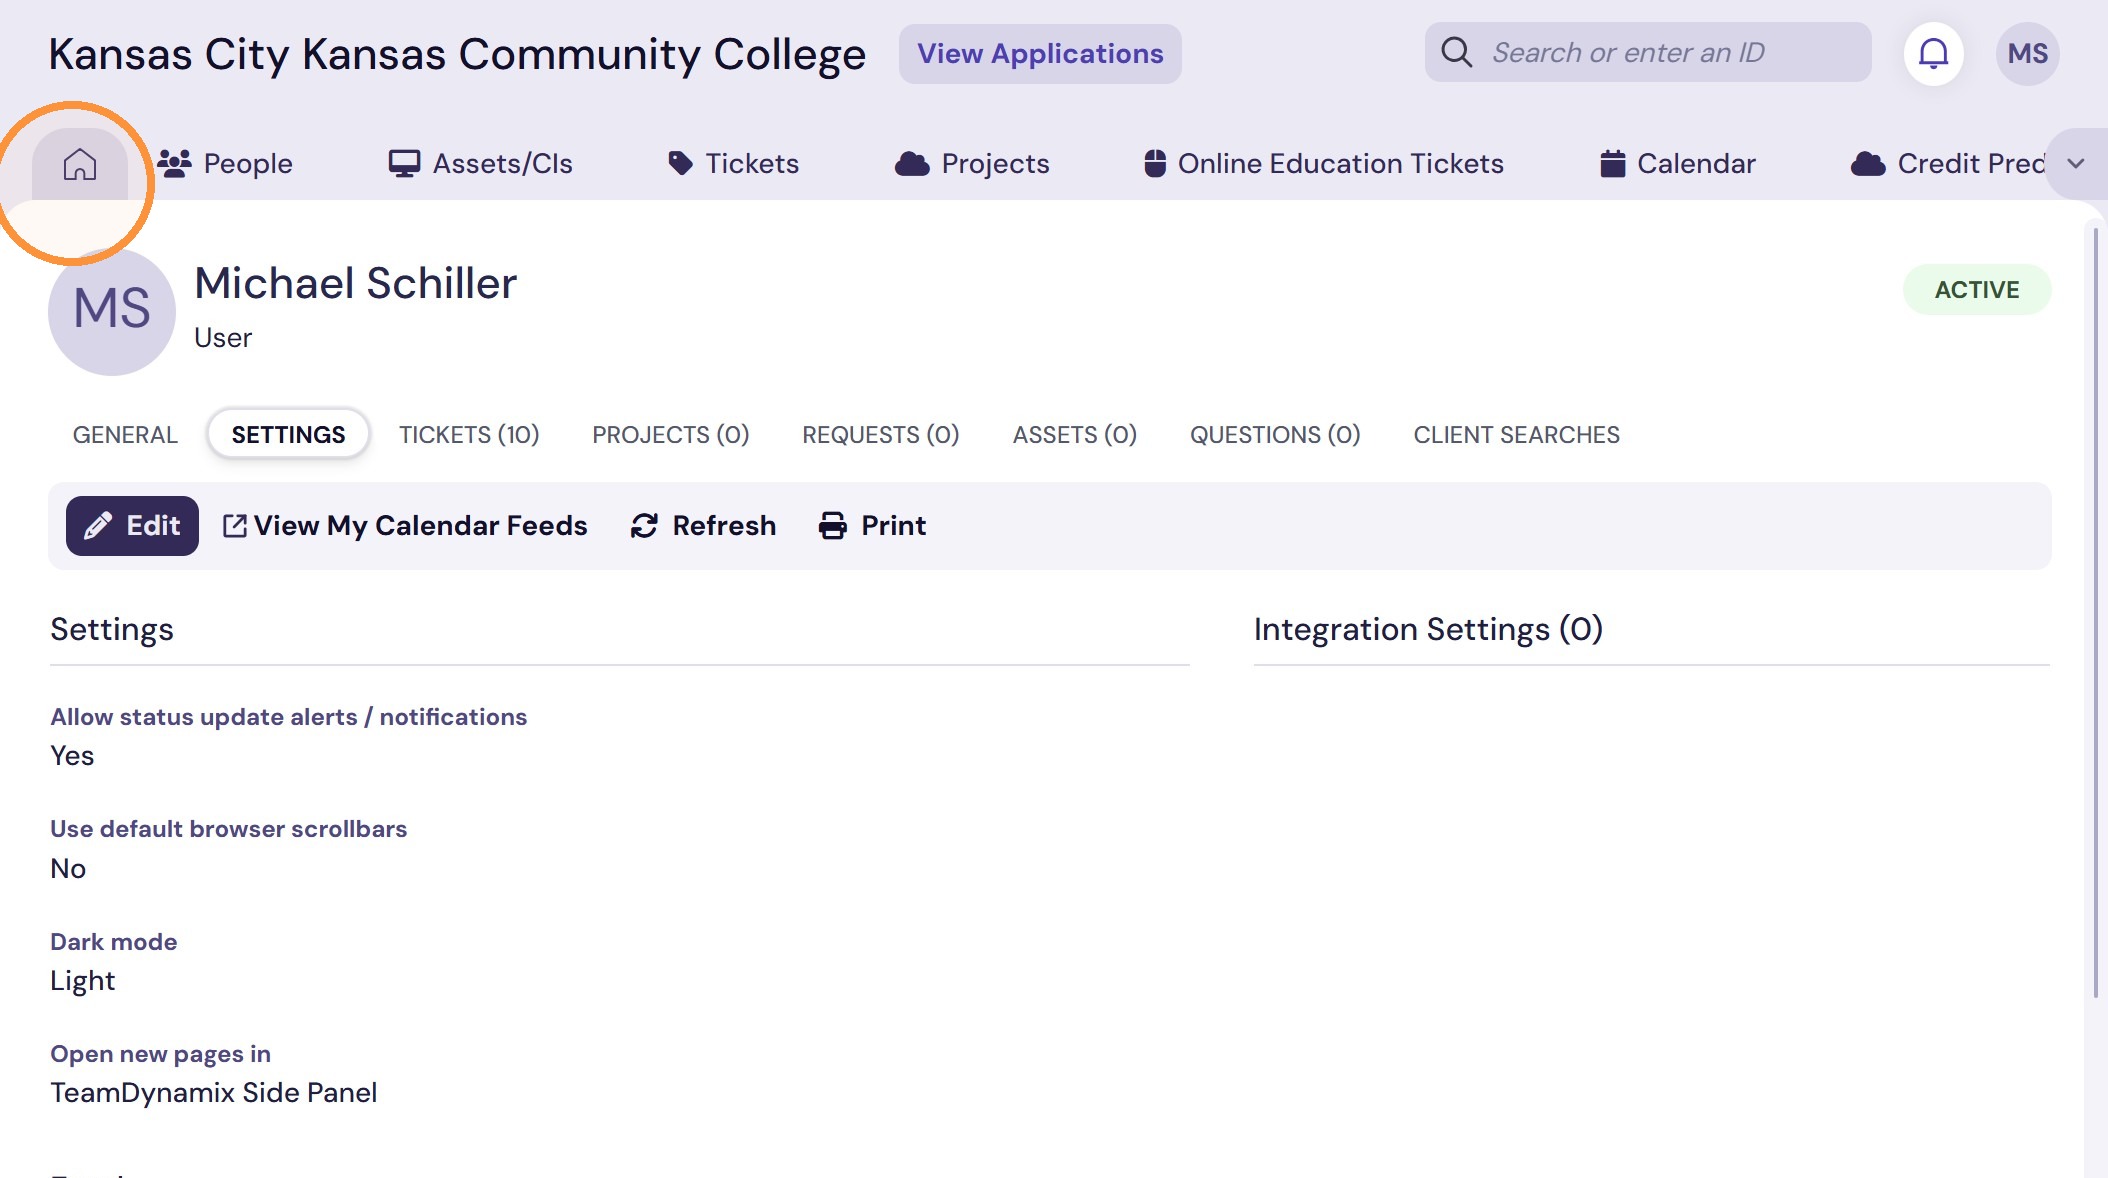
3. You can personalize your own dashboard, or view one of the dashboards that has been assigned to you based on your area of expertise. To view a different dashboard, click the arrow next to [Your Name]'s Dashboard.
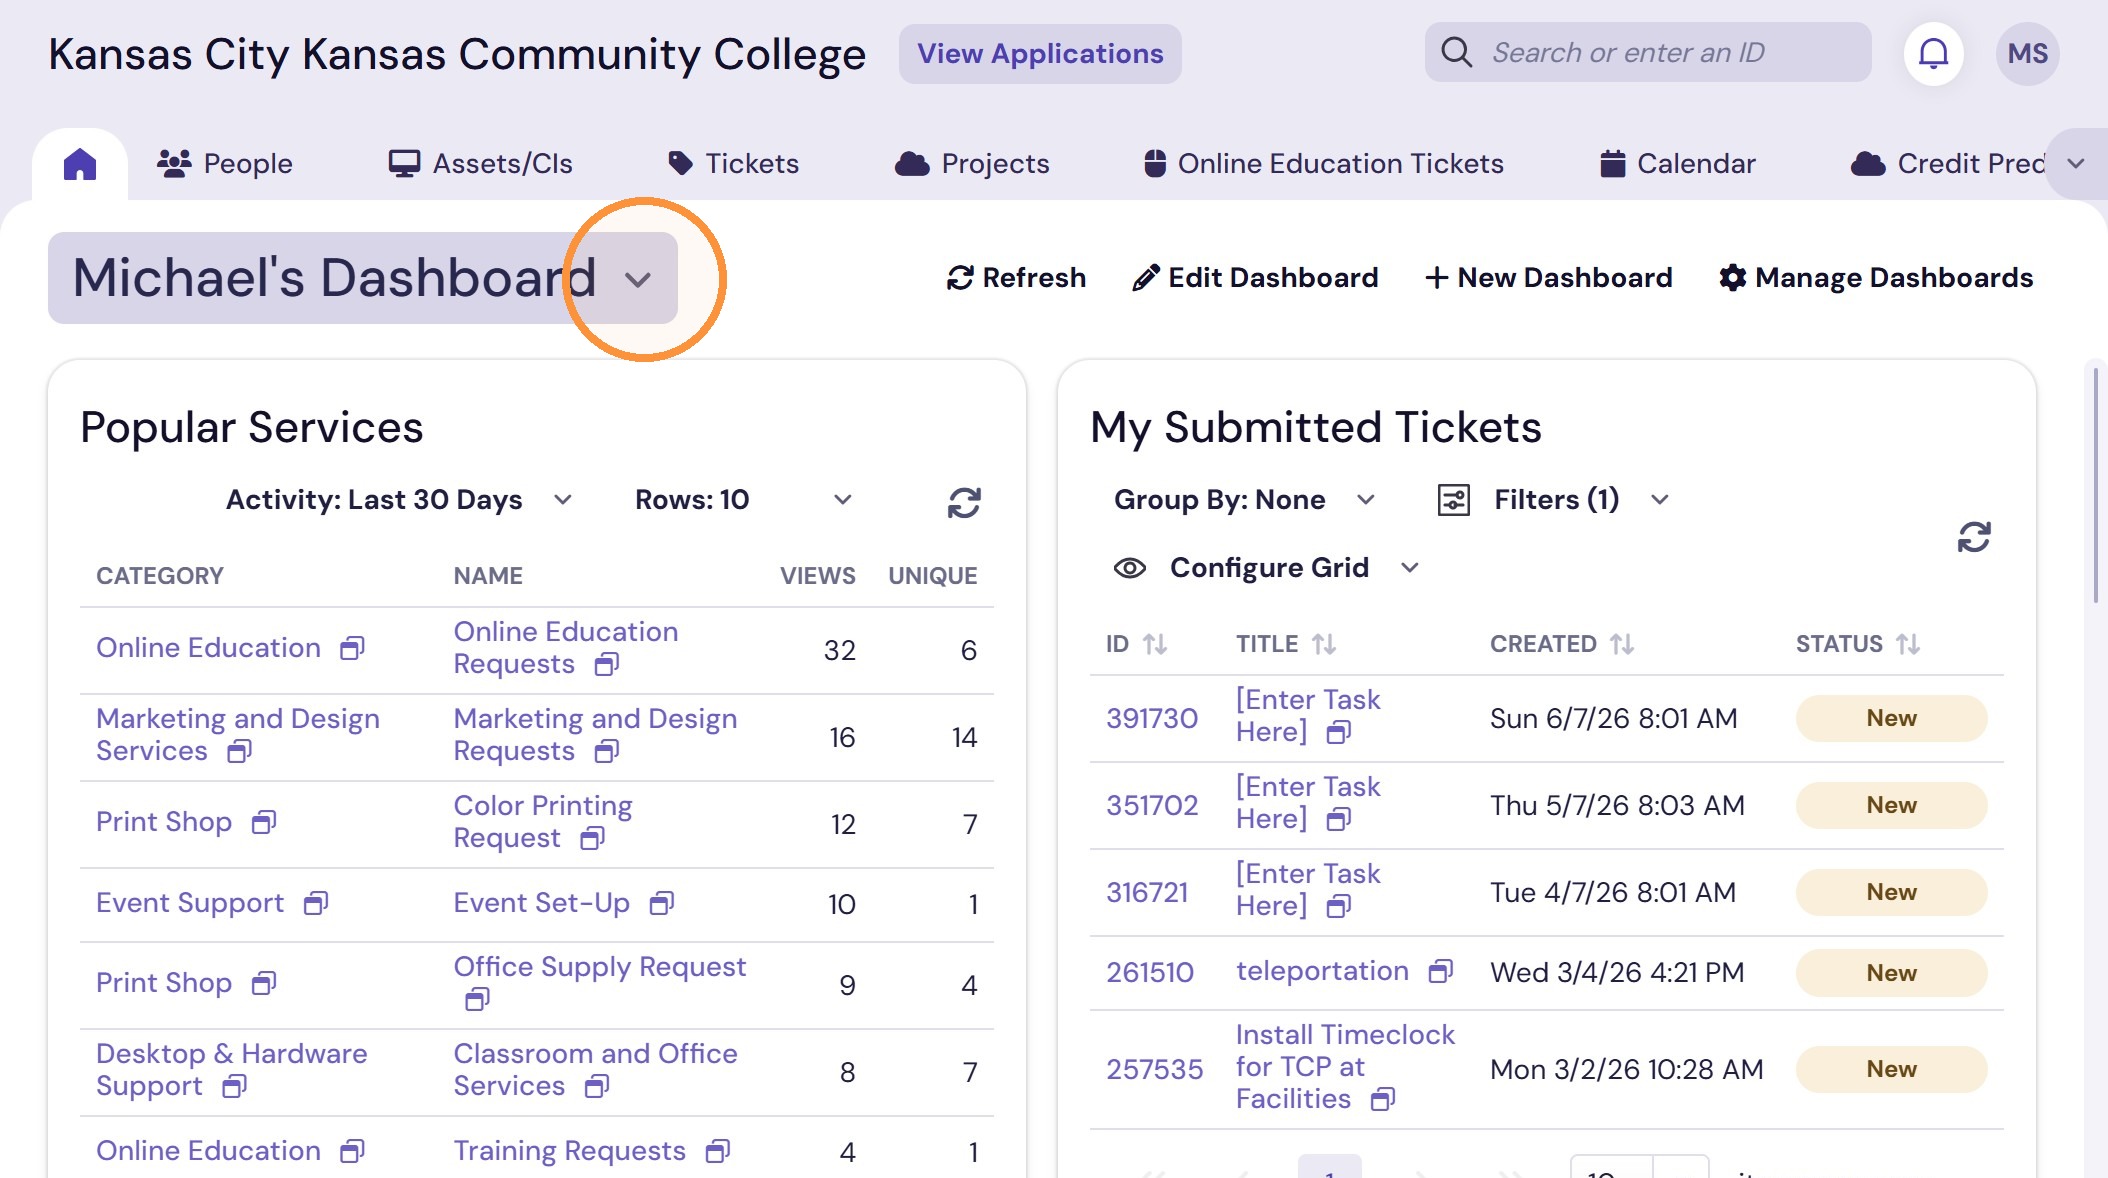
4. Click the dashboard you want to view. This could show you tickets assigned to you, assigned to your team, or other information relevant to your work.
Ticket App Navigation
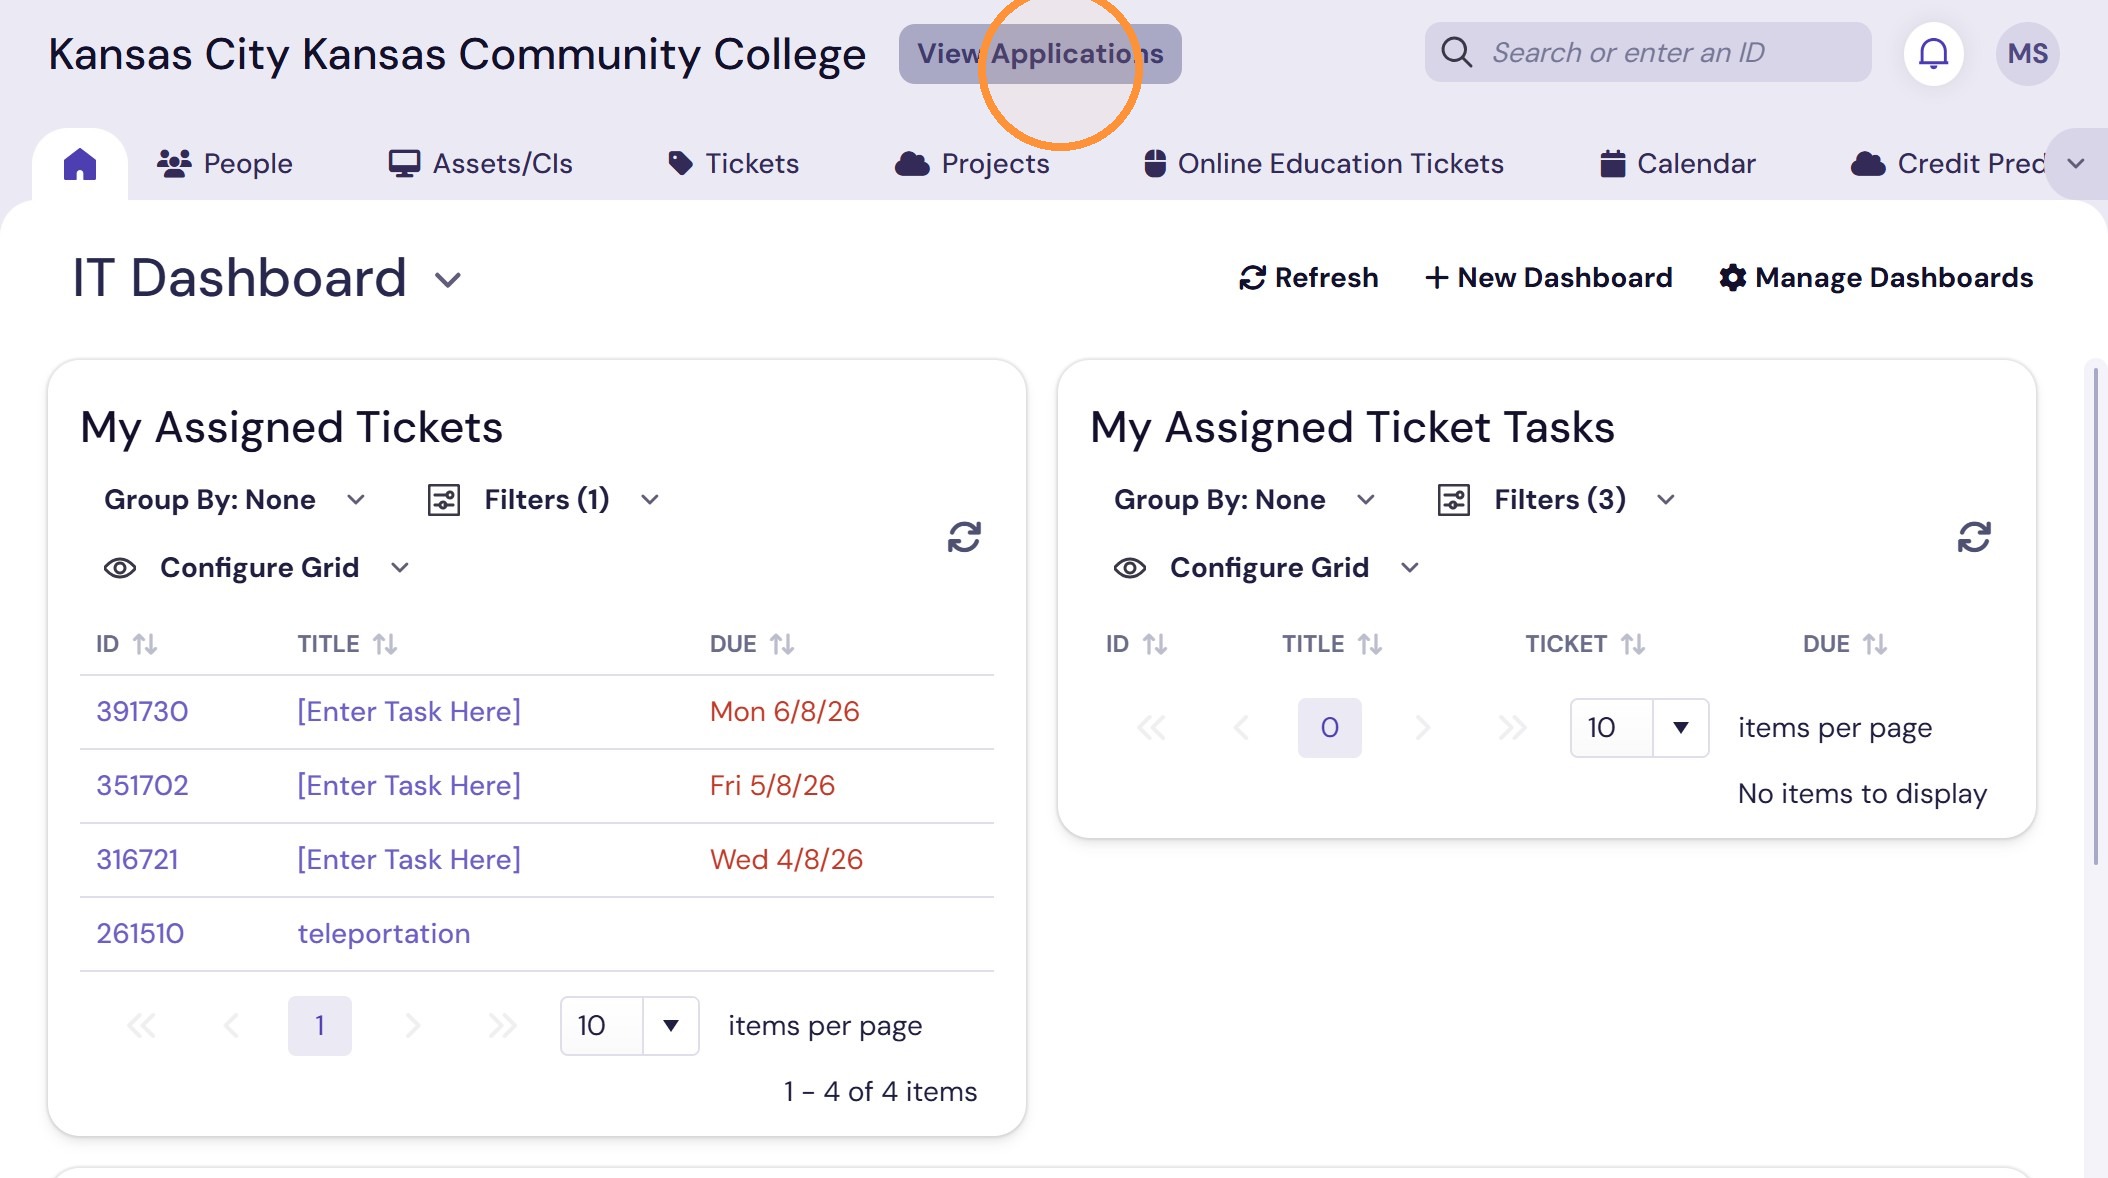
5. Click View Applications to view all the Applications available to you on TeamDynamix.
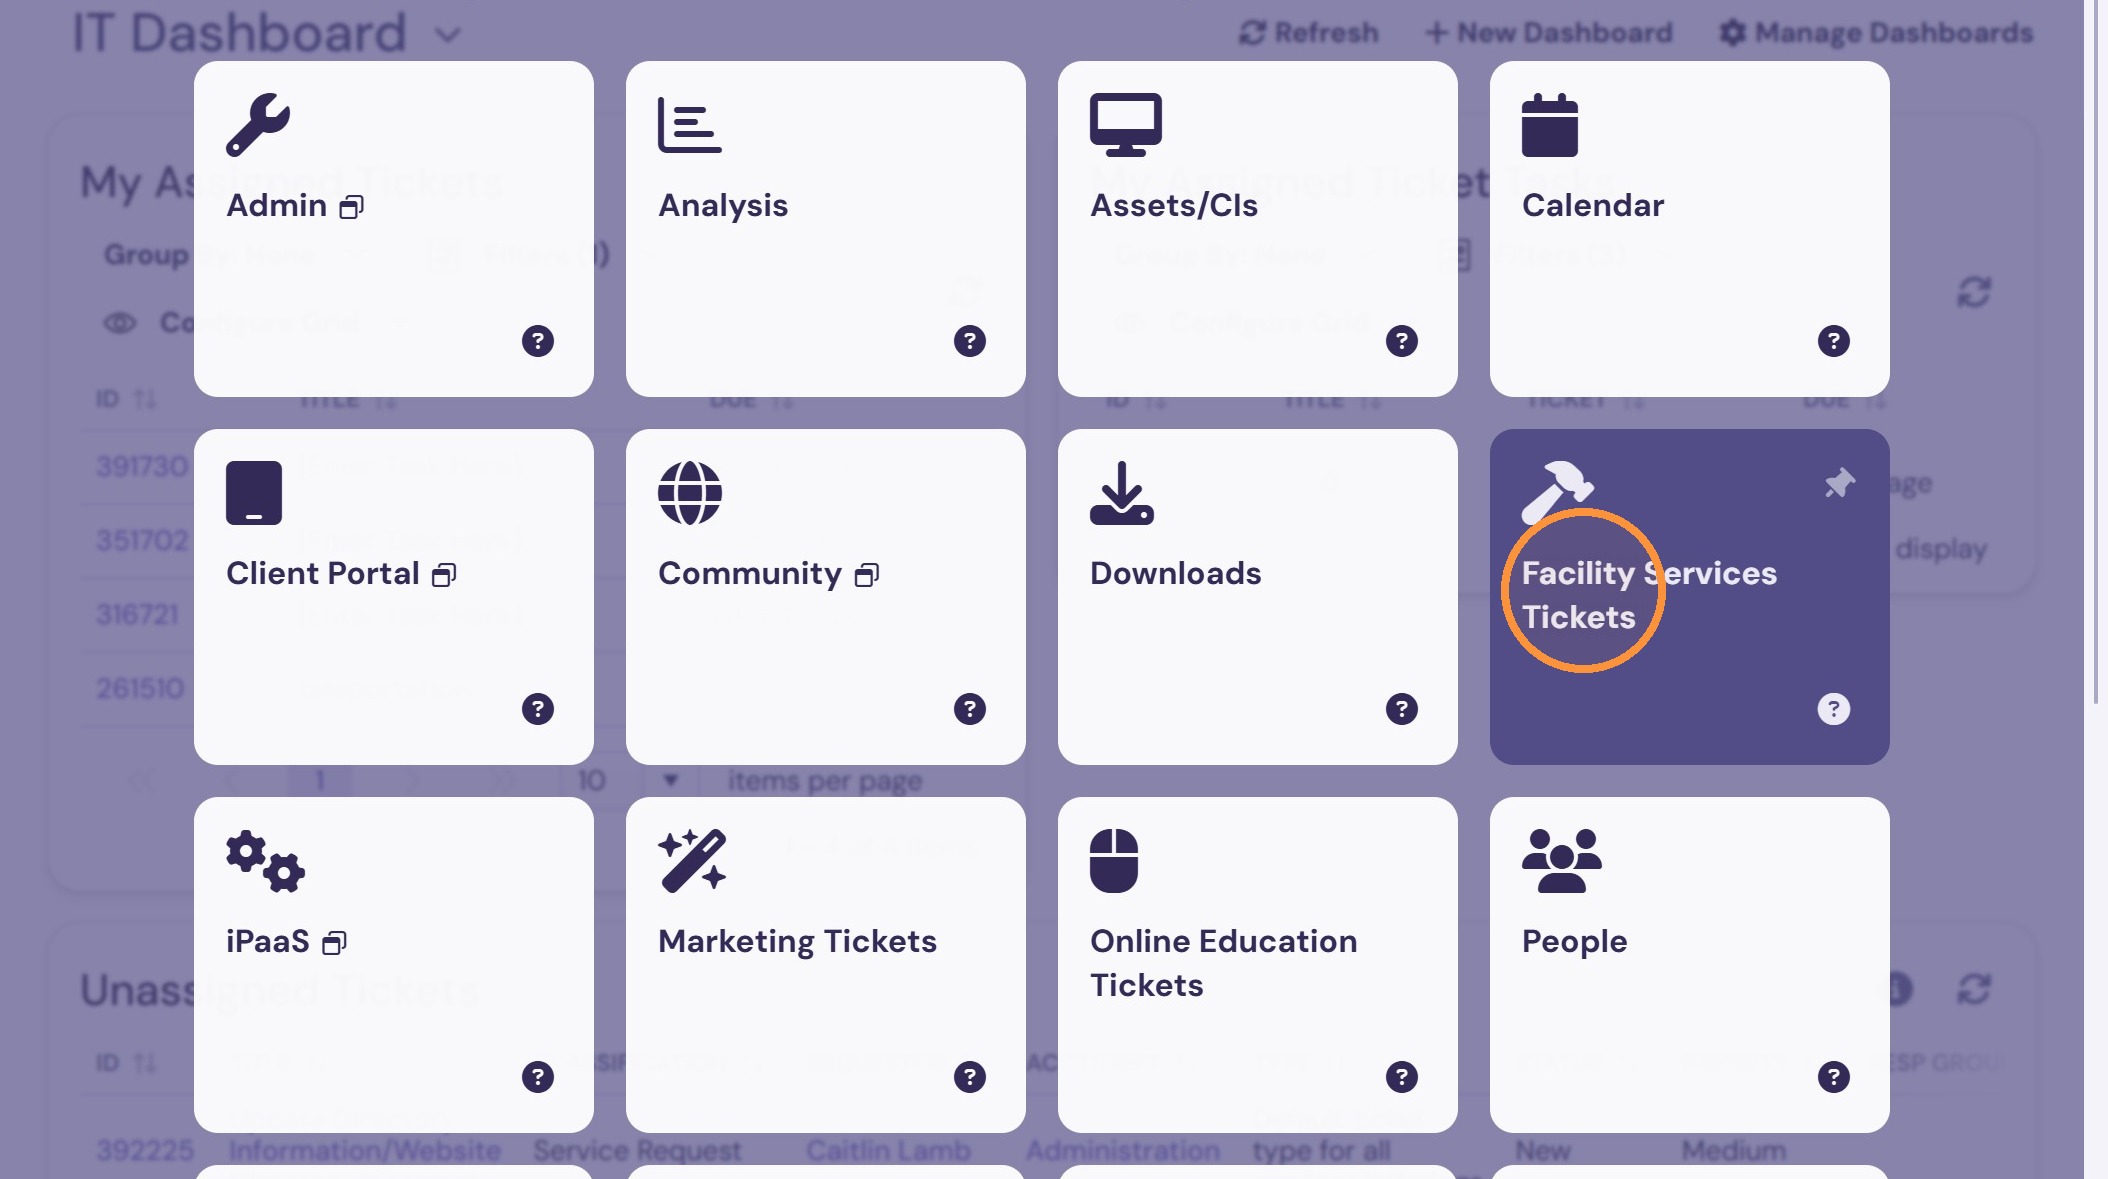
6. Select the Tickets platform that applies to your work; for example, if you are part of the Facility Services staff, click "Facility Services Tickets" (All steps to follow assume Facility Services staff, but can be applied to any team using TeamDynamix).
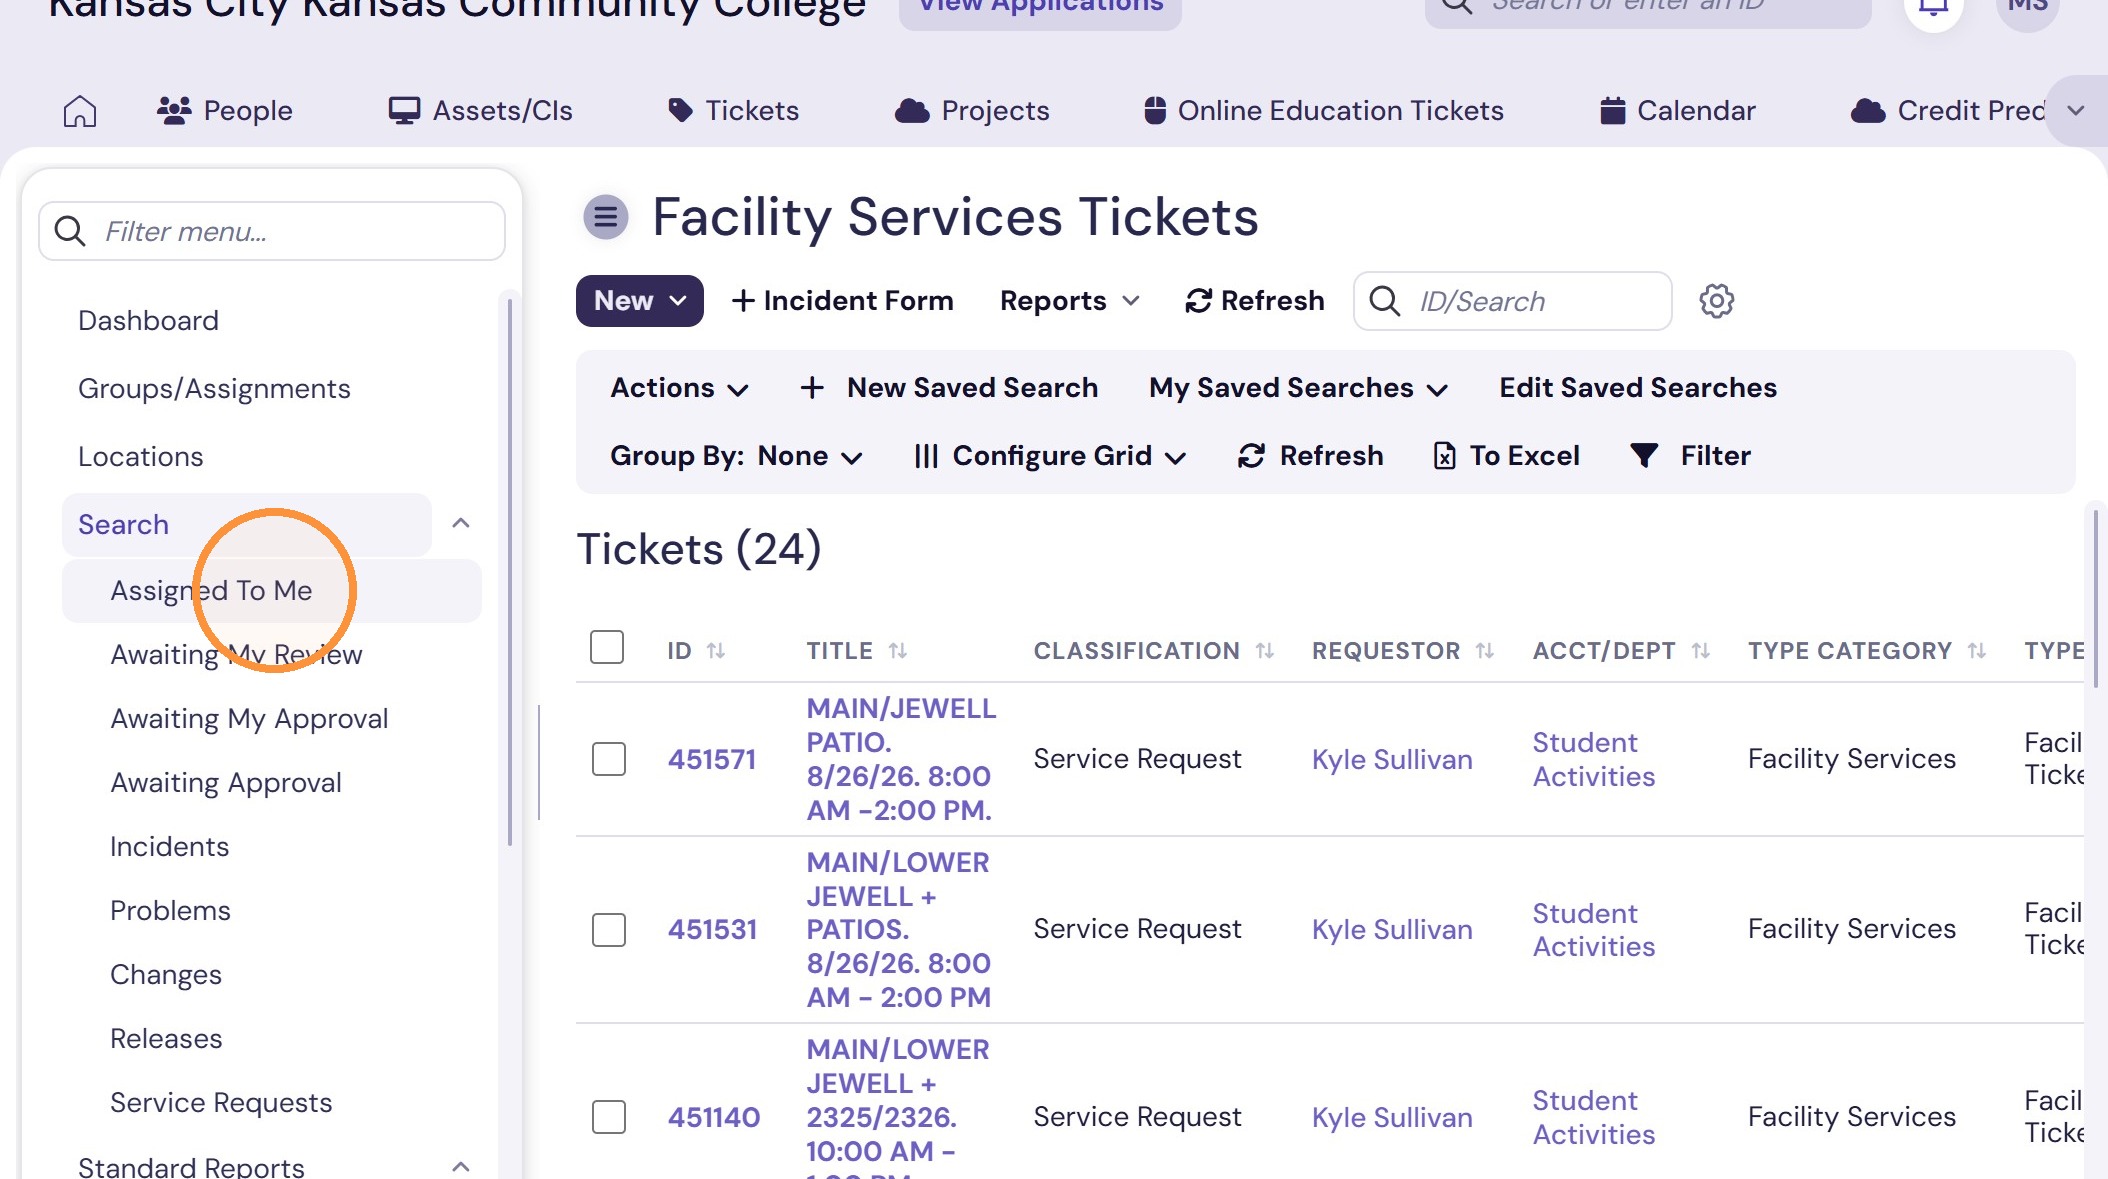
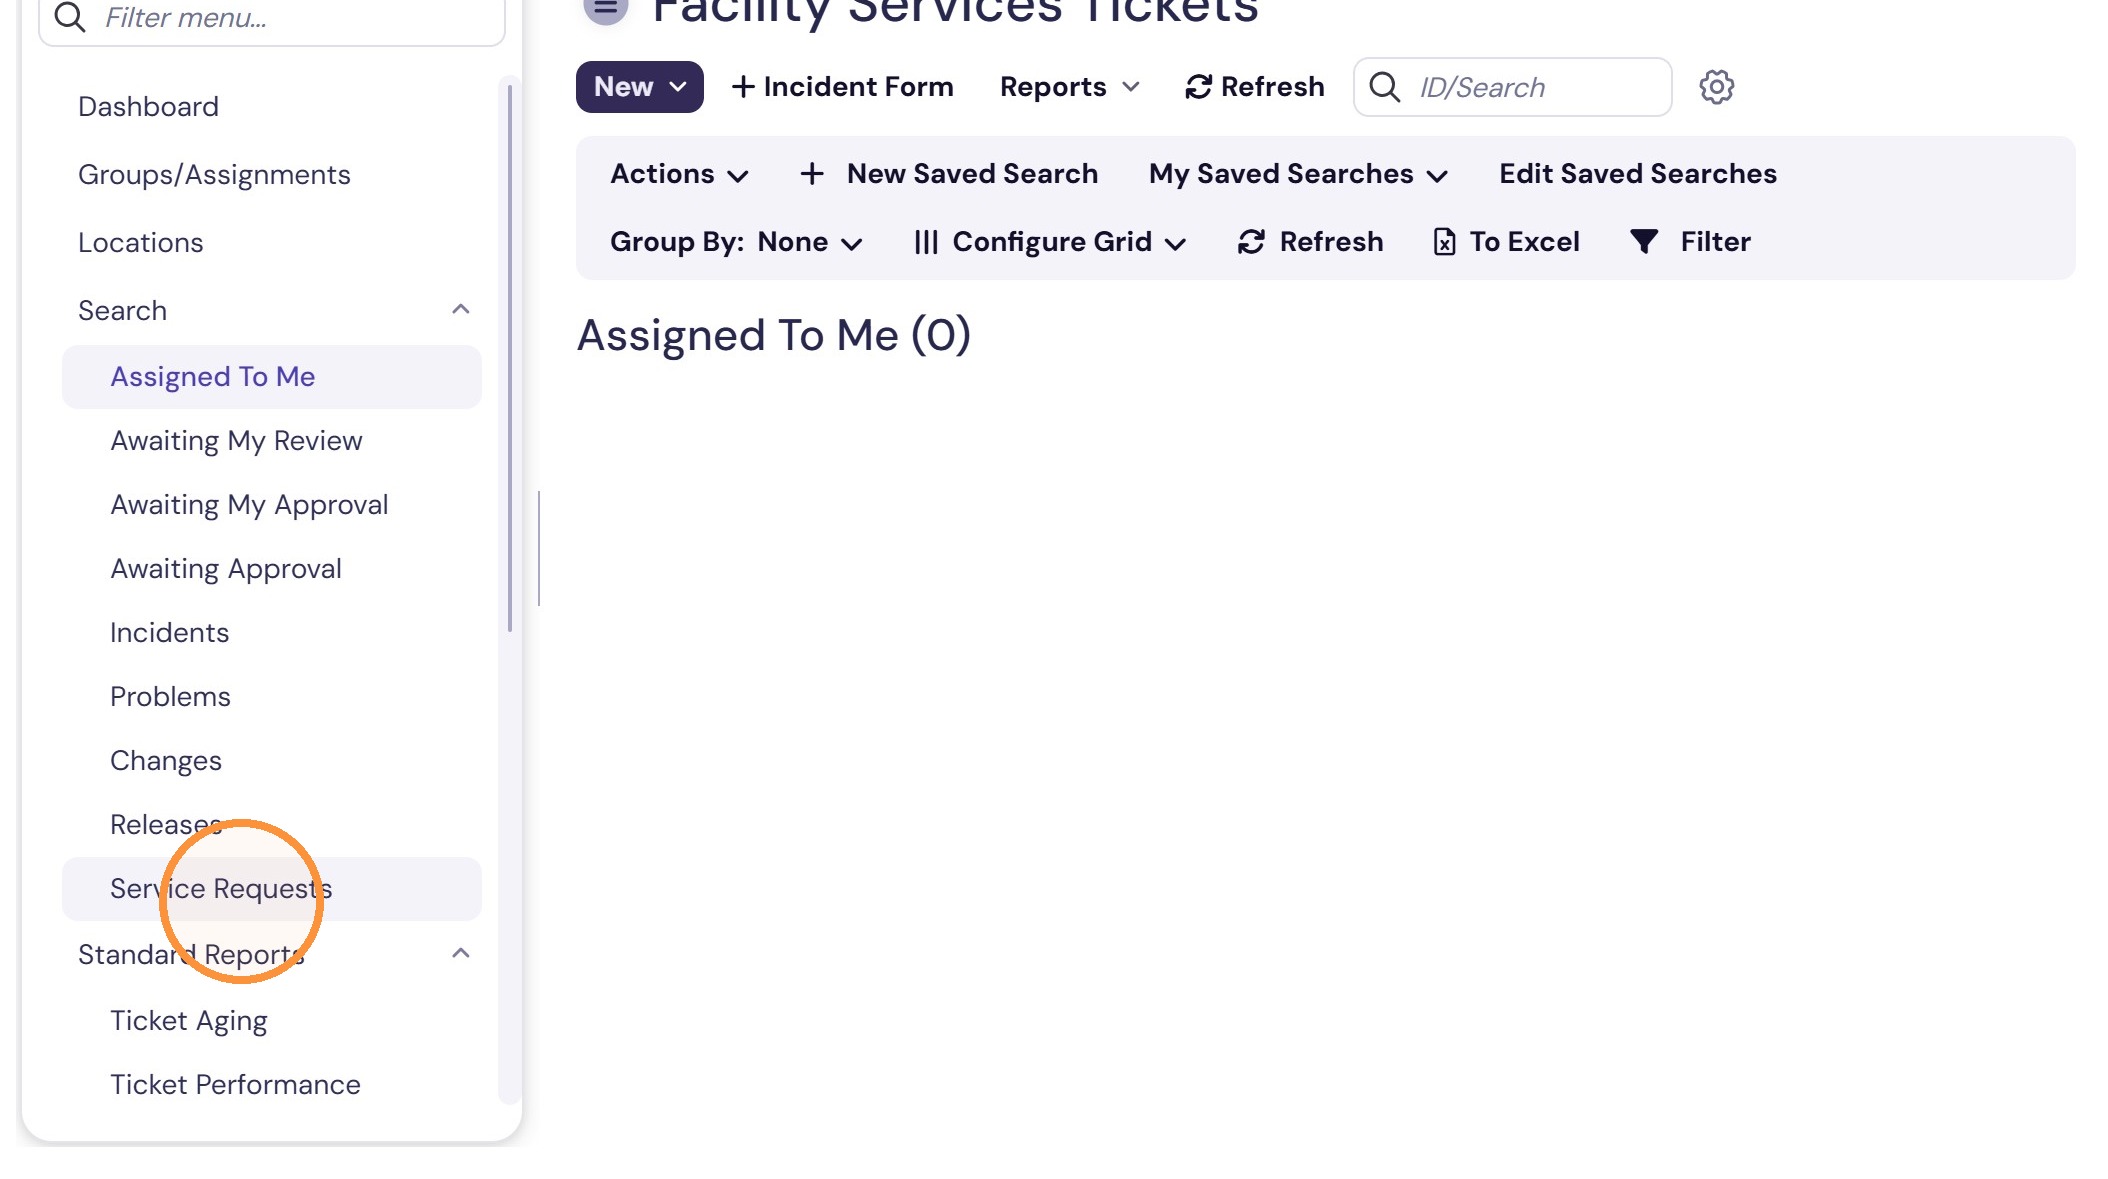
7. There are a number of pre-filled selections of tickets already assigned. Select "Assigned To Me" to see any tickets that are assigned to you.
8. Select Service Requests to look at any service requests that have been filed in Facility services. By default, only open tickets are displayed, but you can use the filter to view closed tickets.
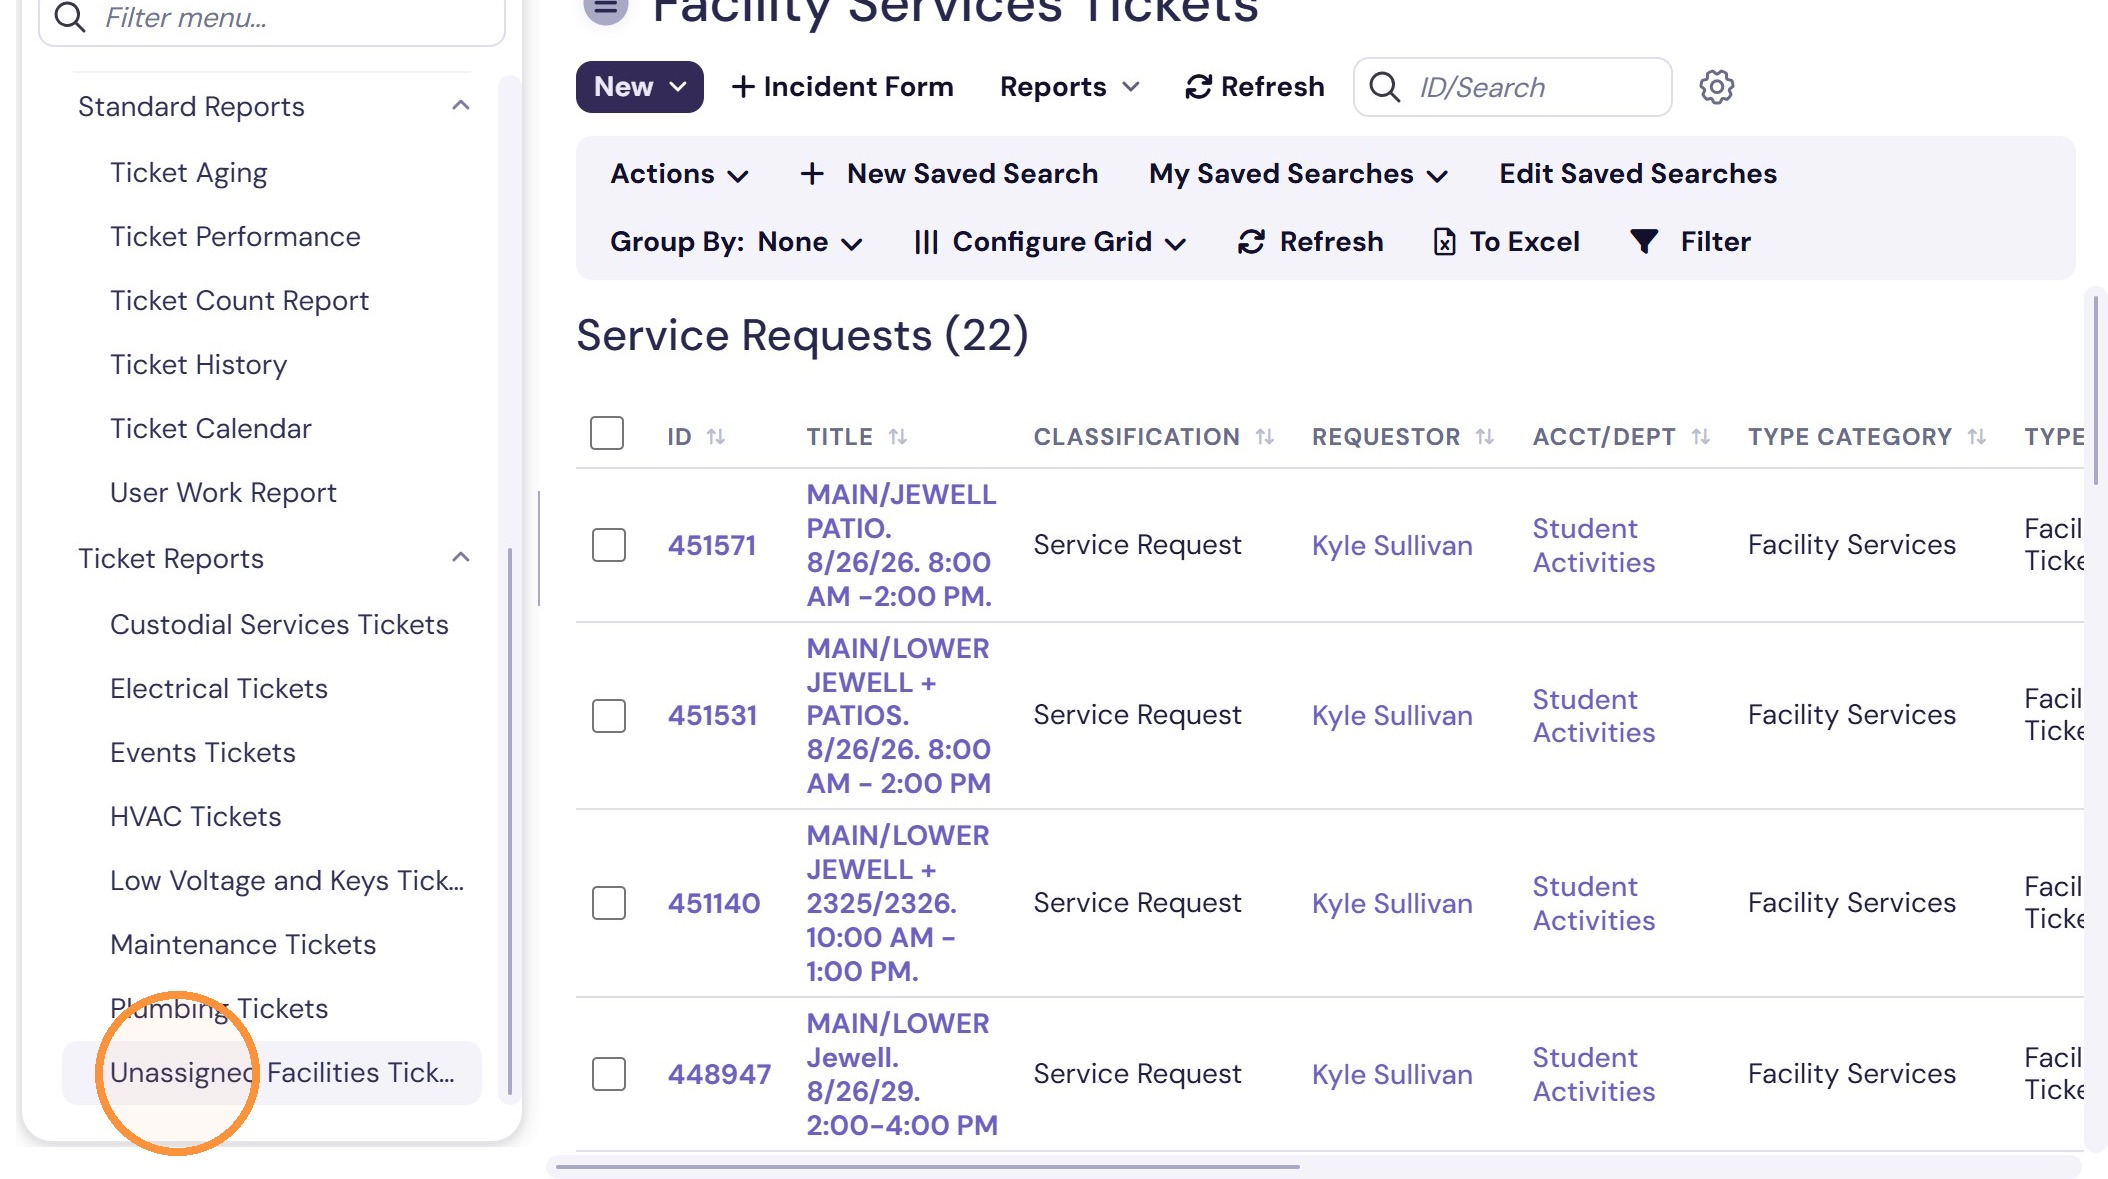
9. There are also ticket reports for a number of specific teams. To see all unassigned Facility Services Tickets, click "Unassigned Facilities Tickets".
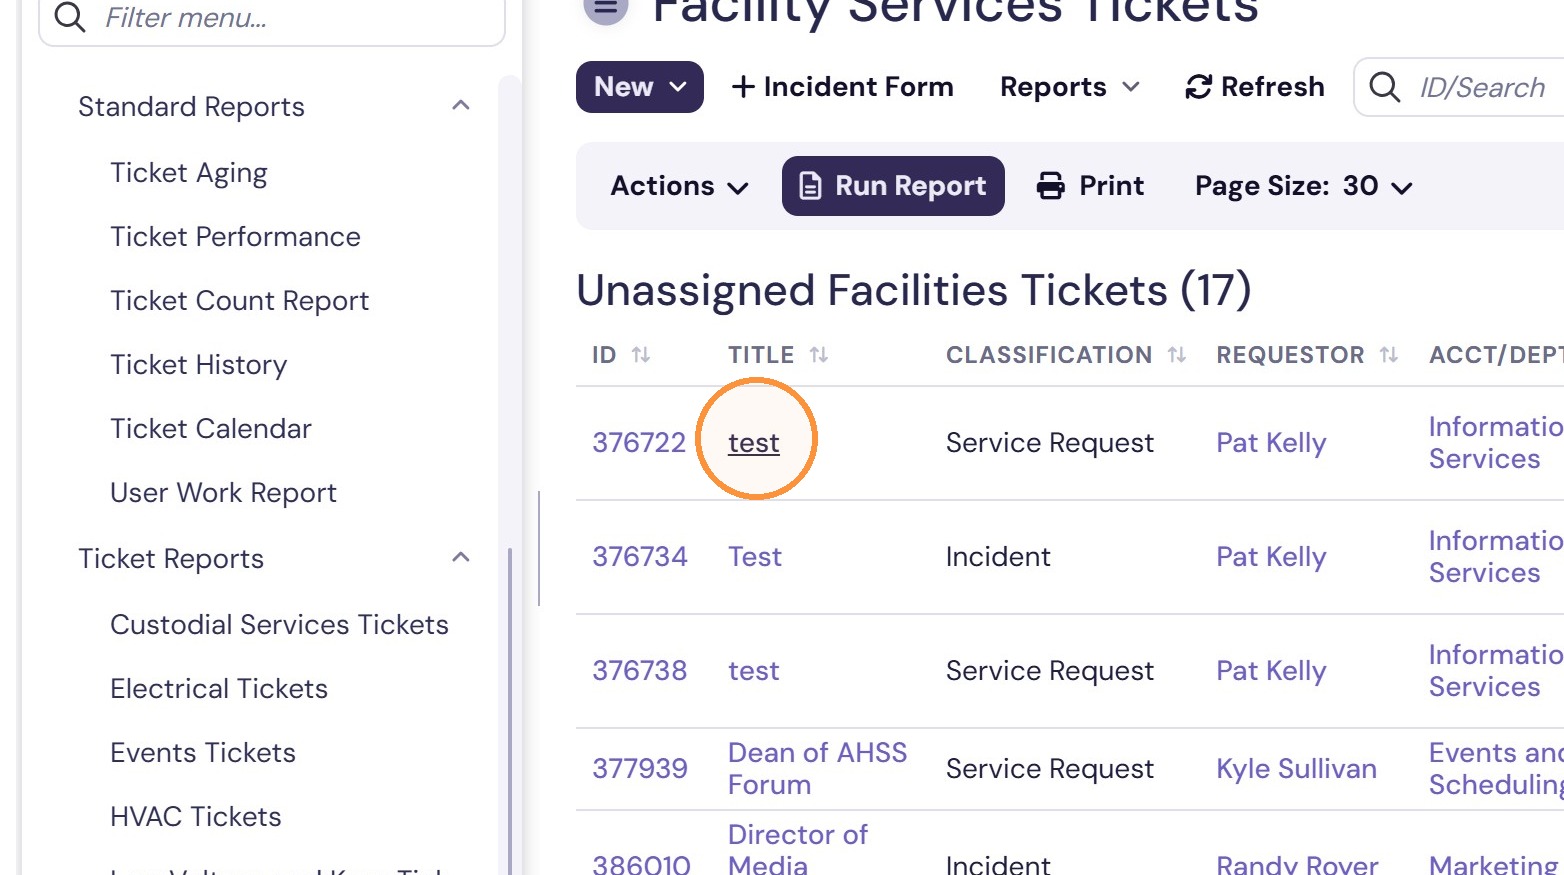
10. If you want to handle a ticket, click the name or ID number of a ticket.
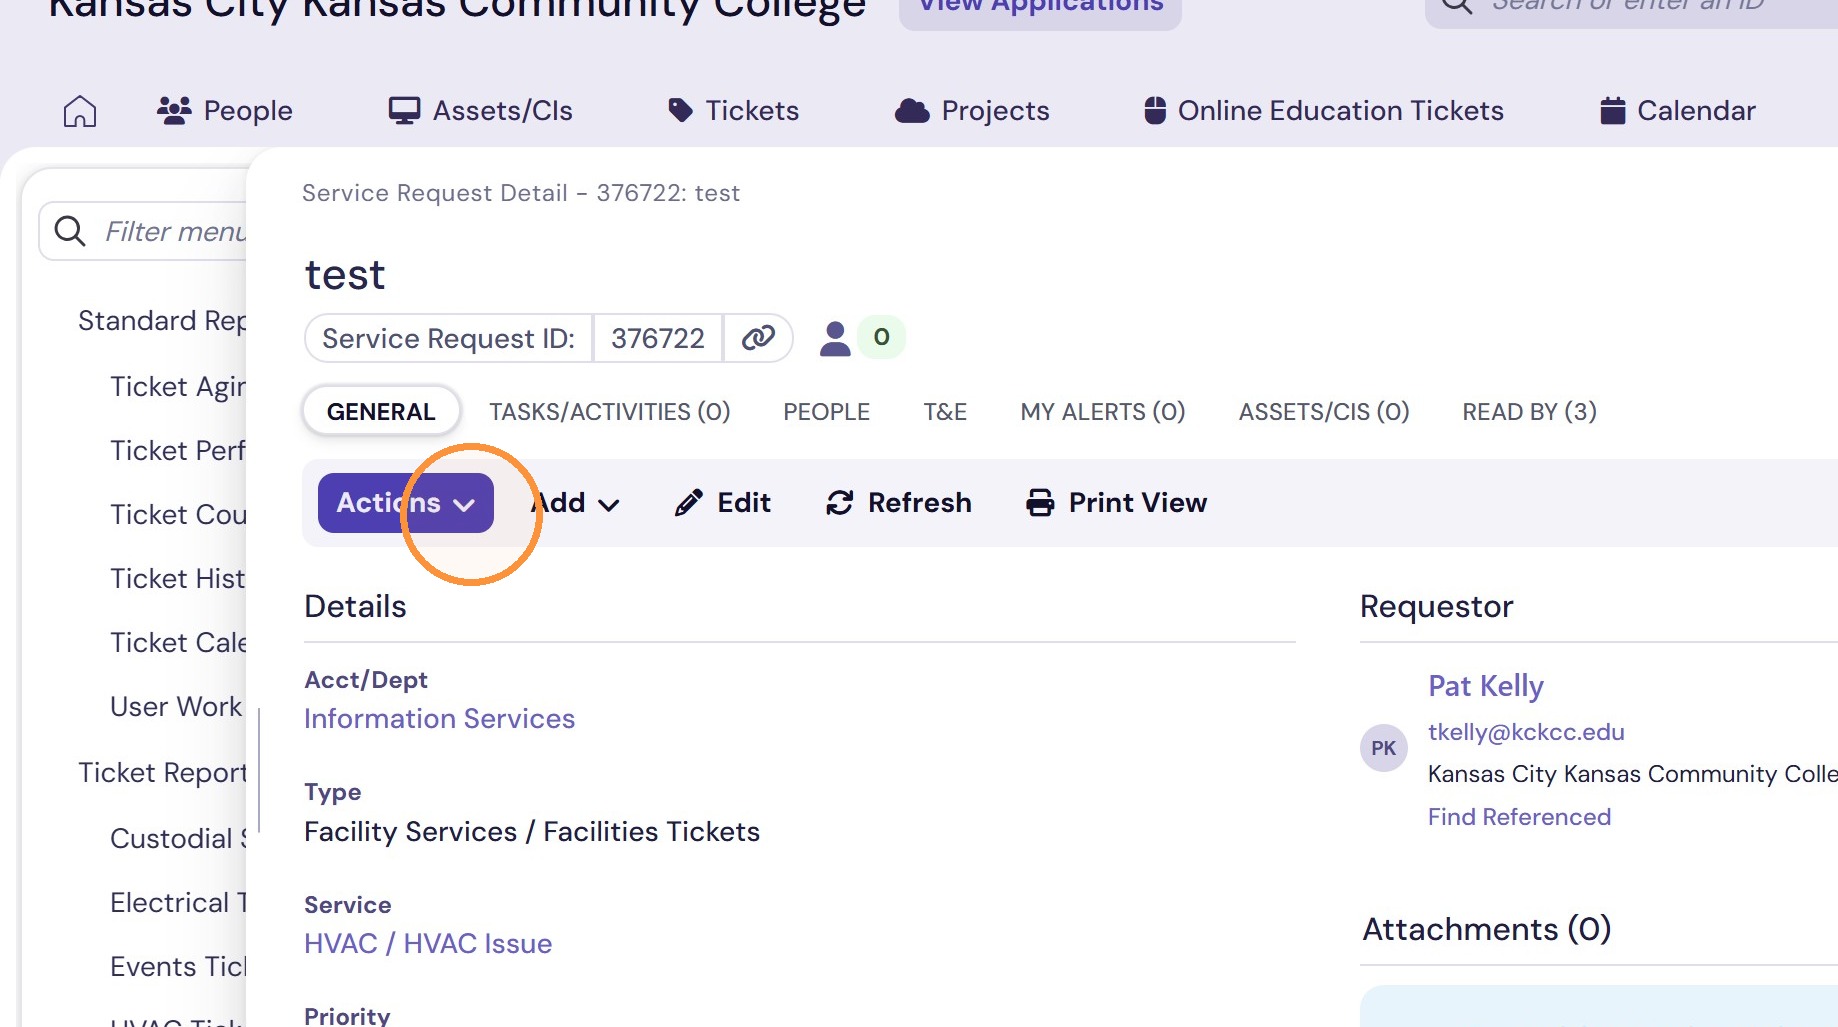
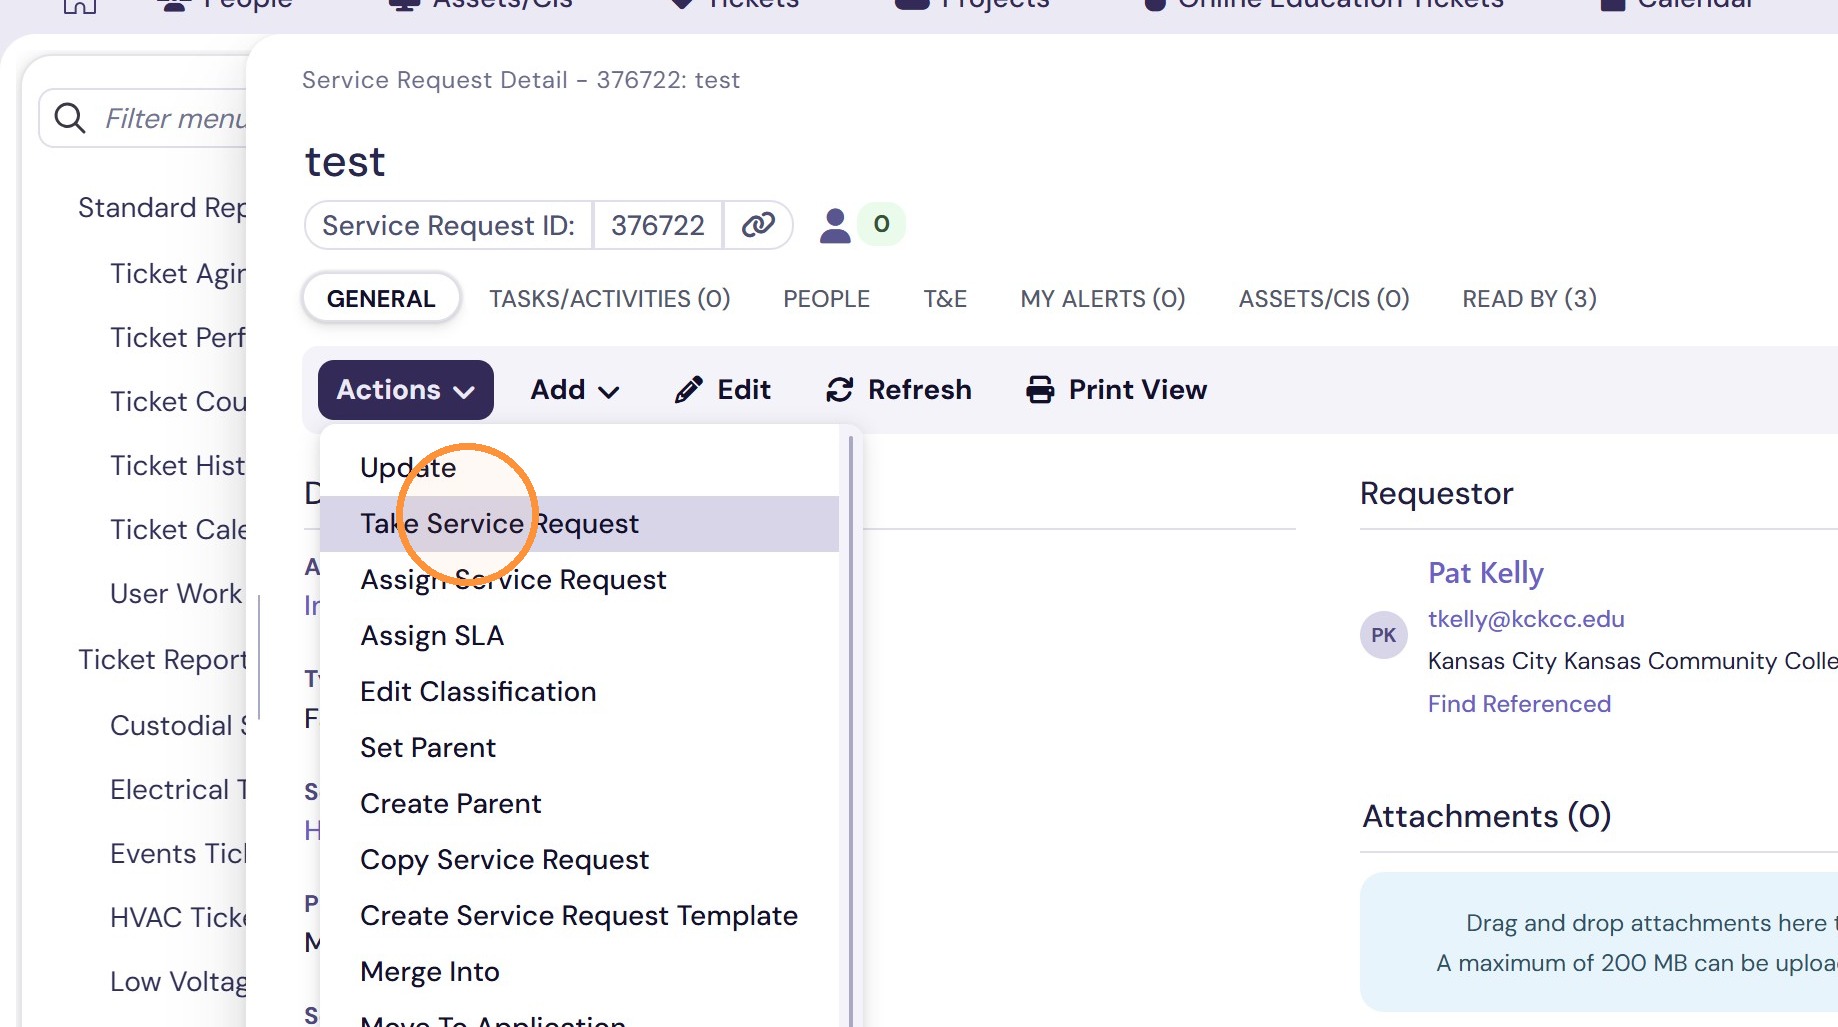
11. Click the "Actions" drop down menu.
12. Select "Take Service Request" to assign the ticket to yourself.
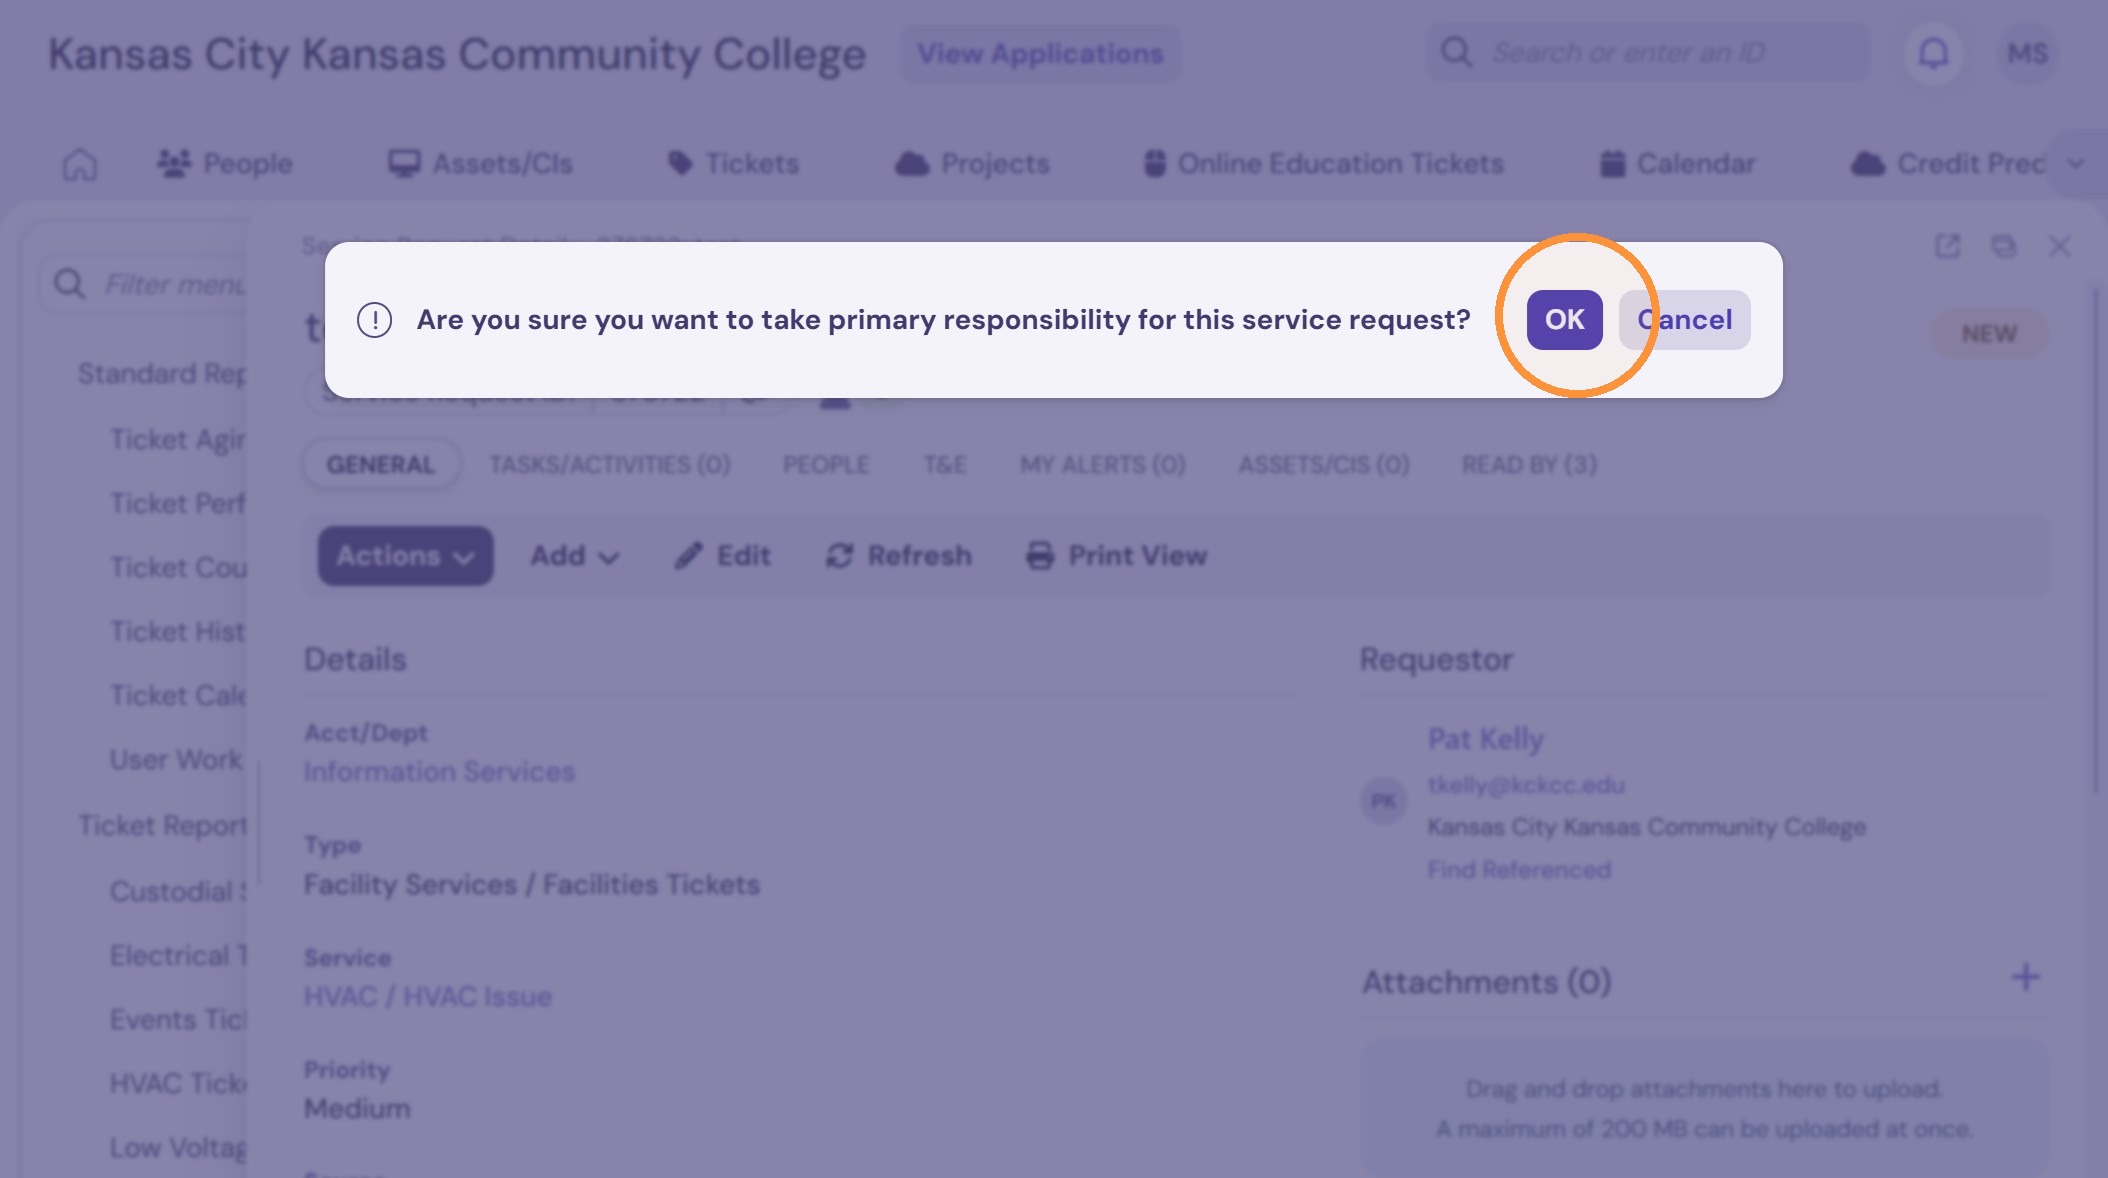
13. Click OK.
Ticket Resolution
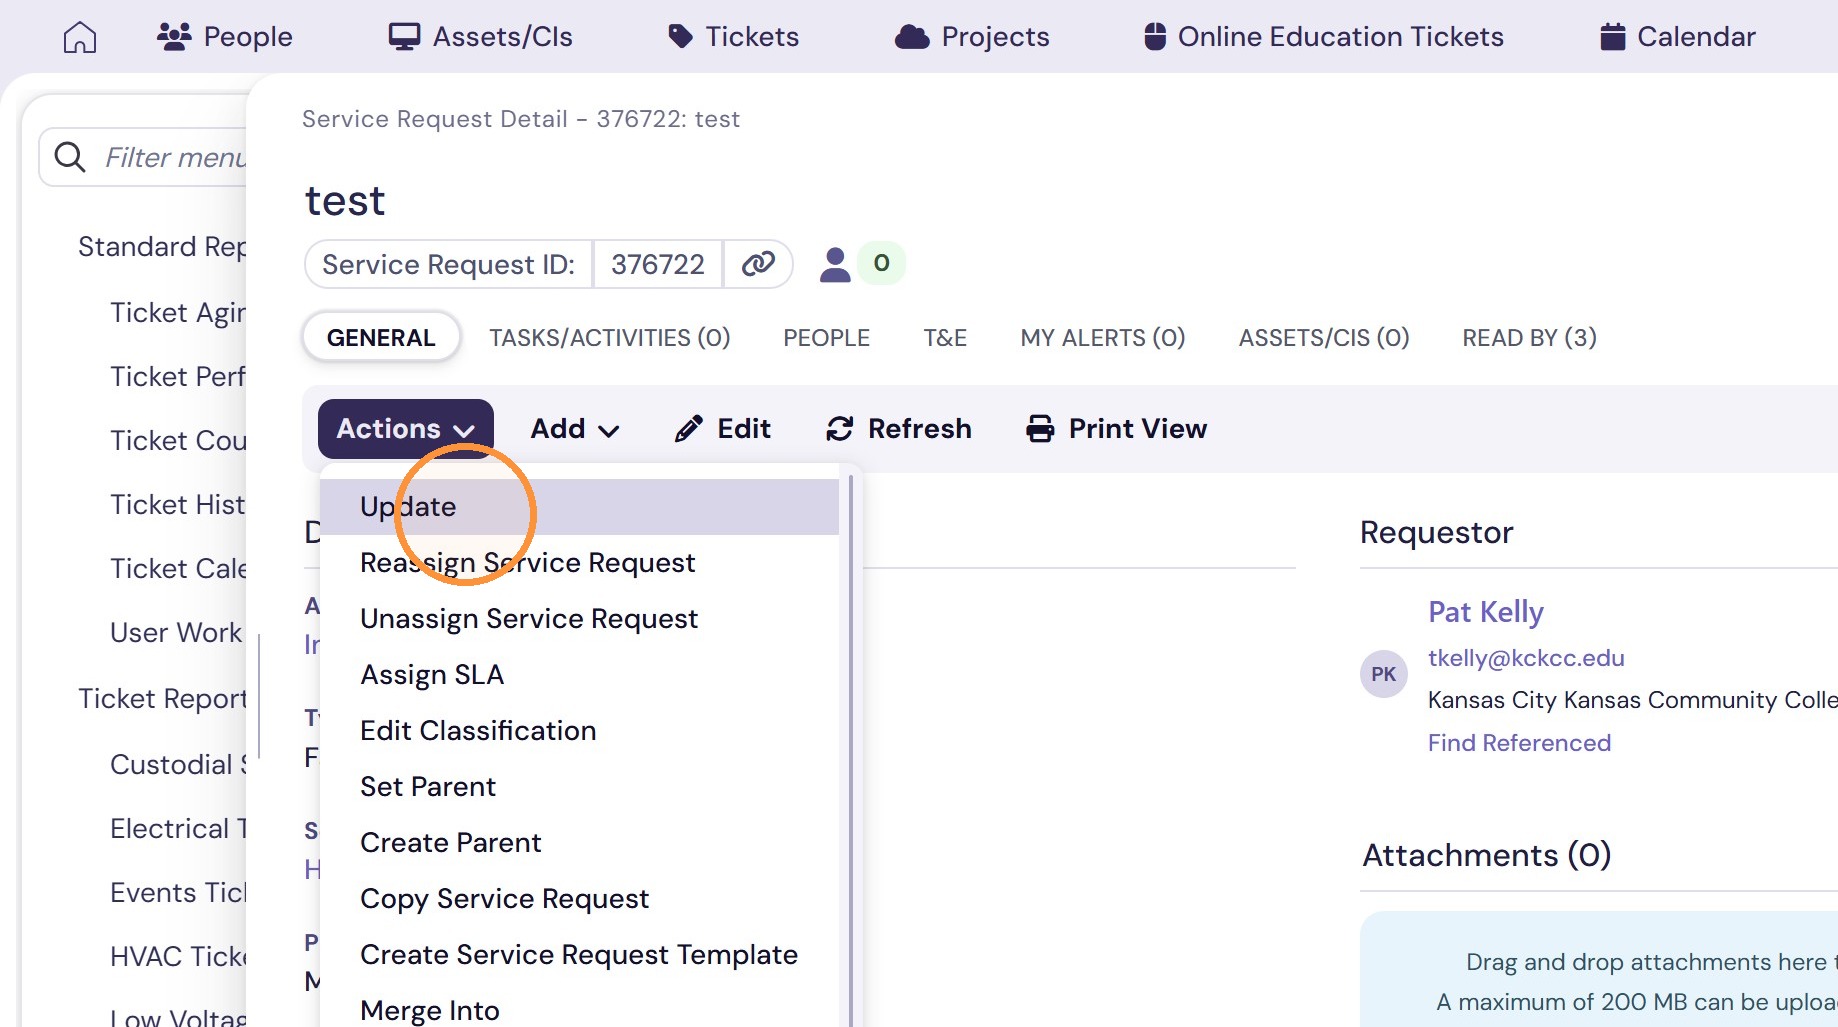
14. Click the "Actions" drop down menu, and select "Update".
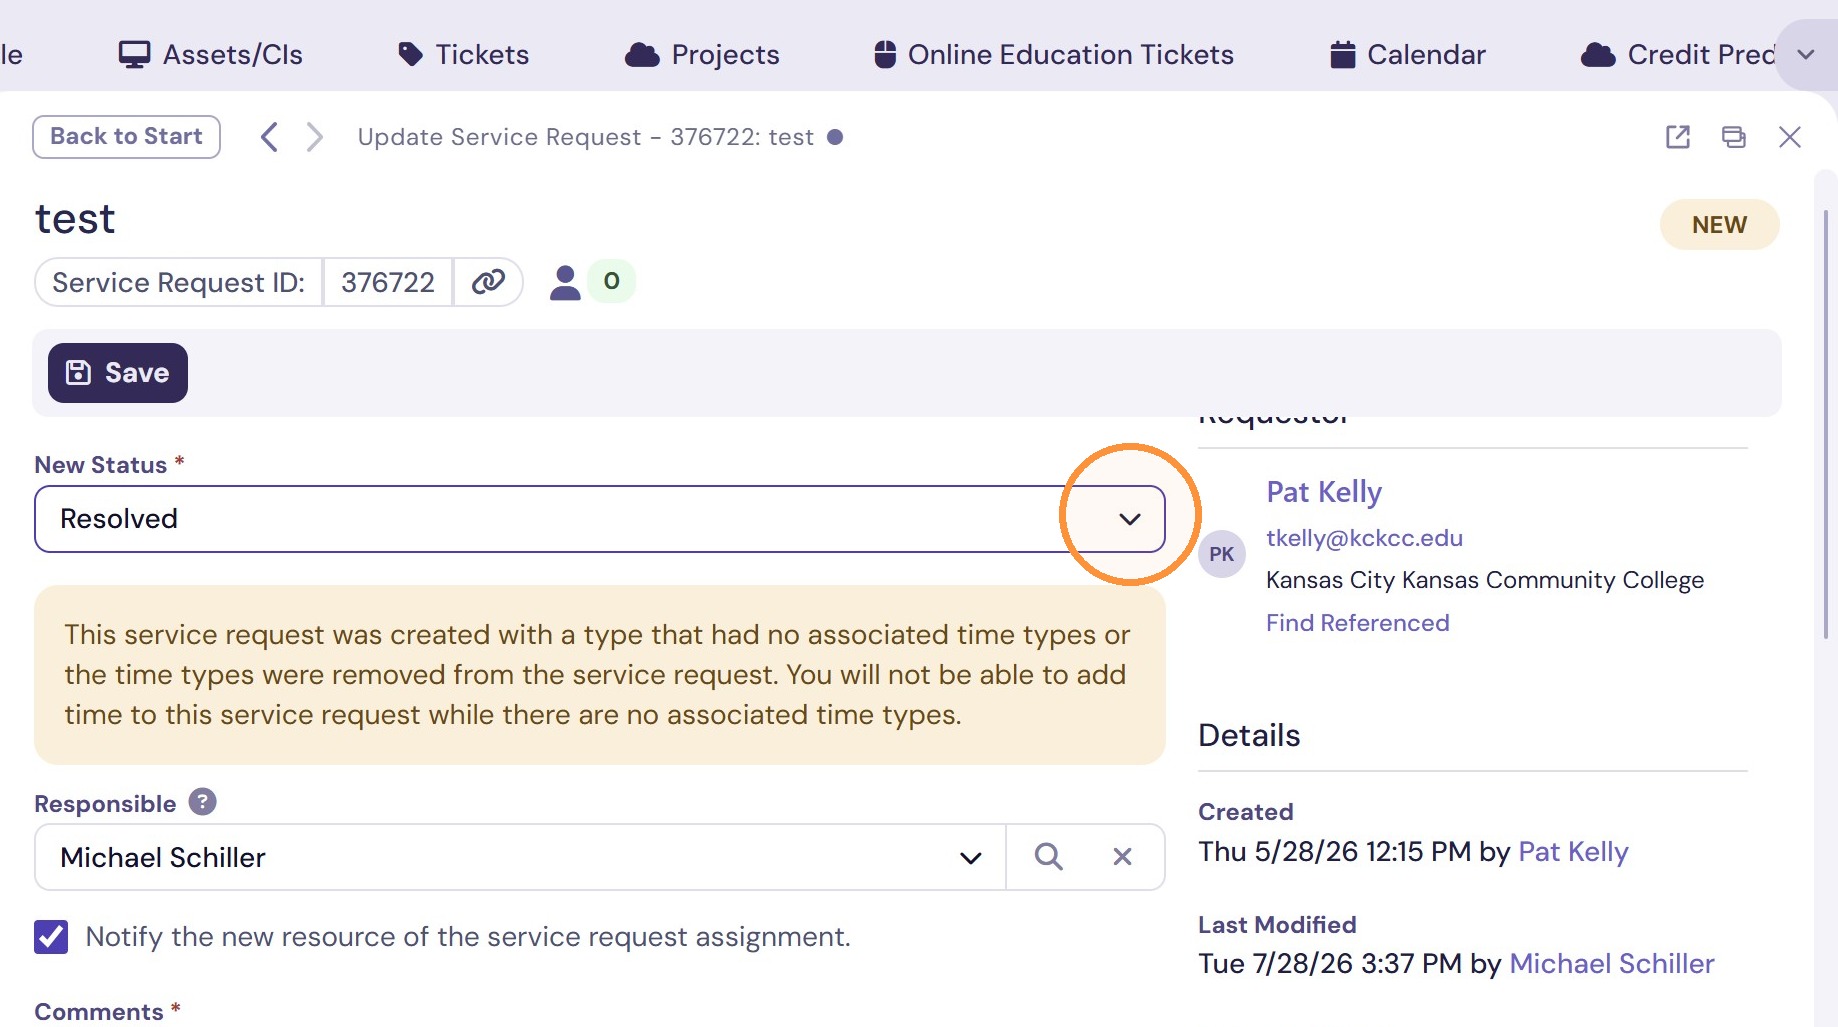
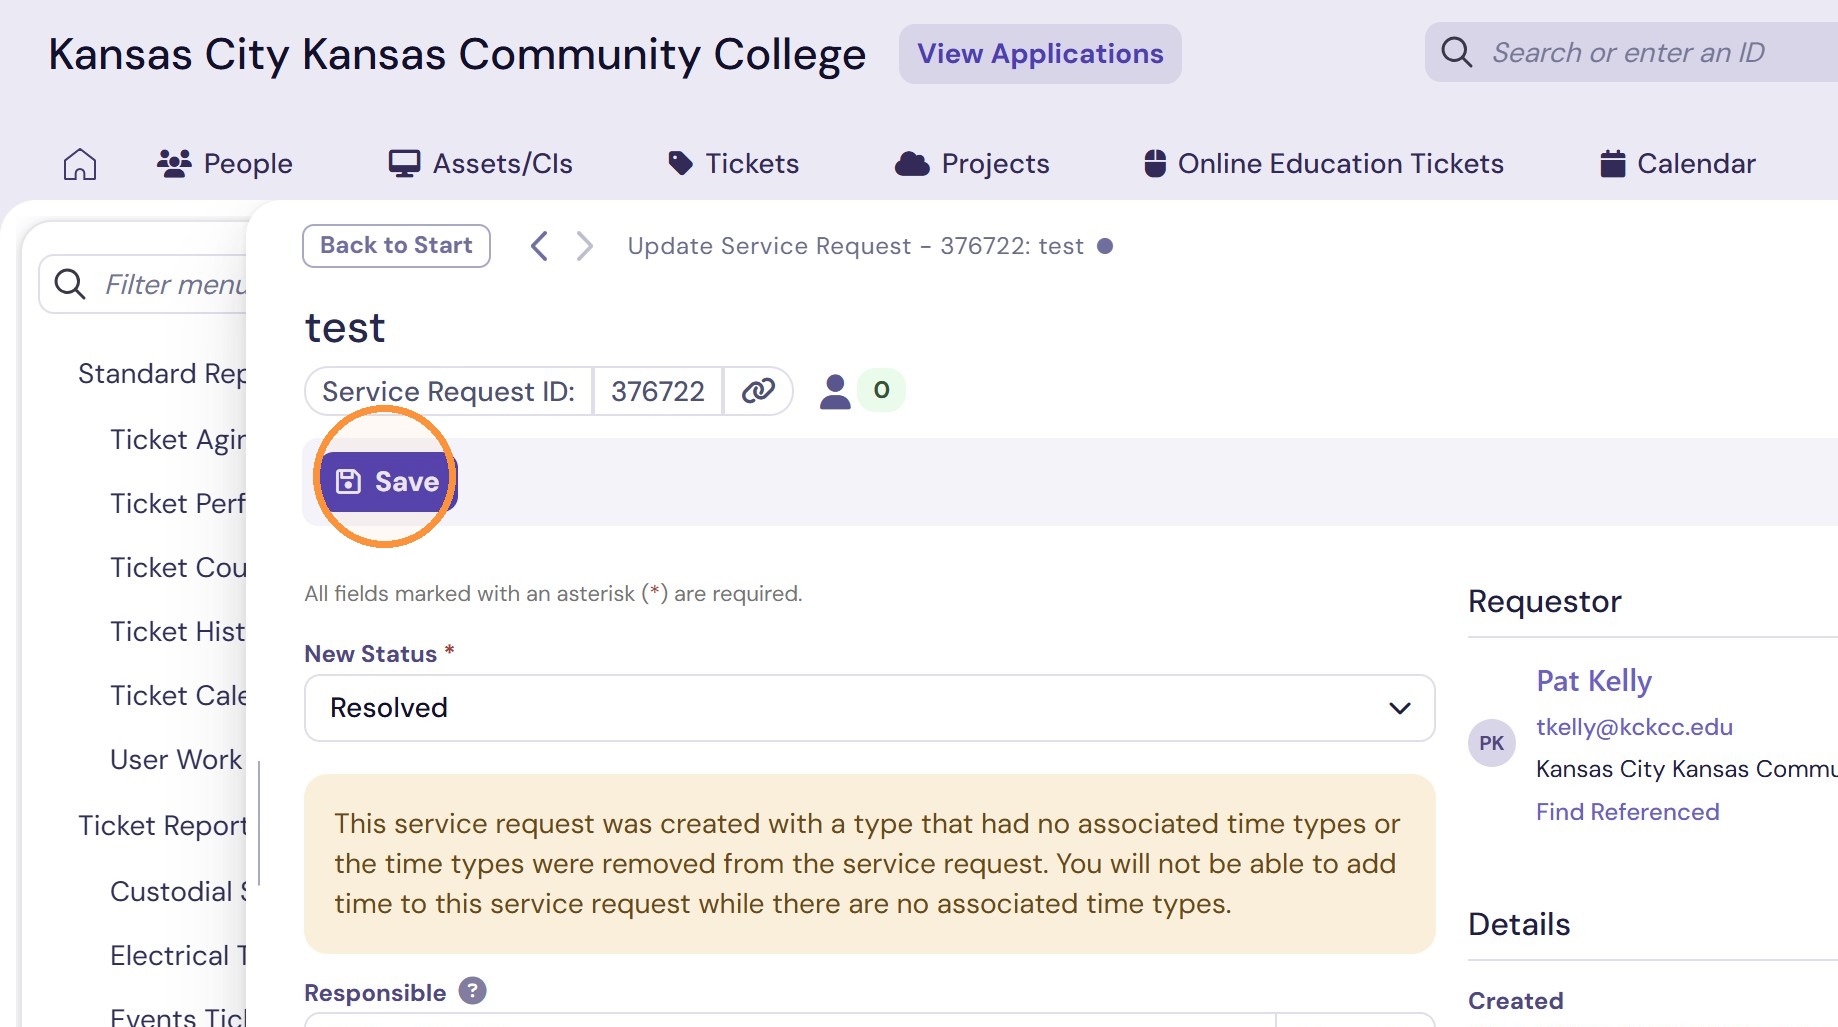
15. This will bring up a new window that allows you to change the details of the ticket. To set the ticket status to "Resolved", select "Resolved" from the "New Status" menu.
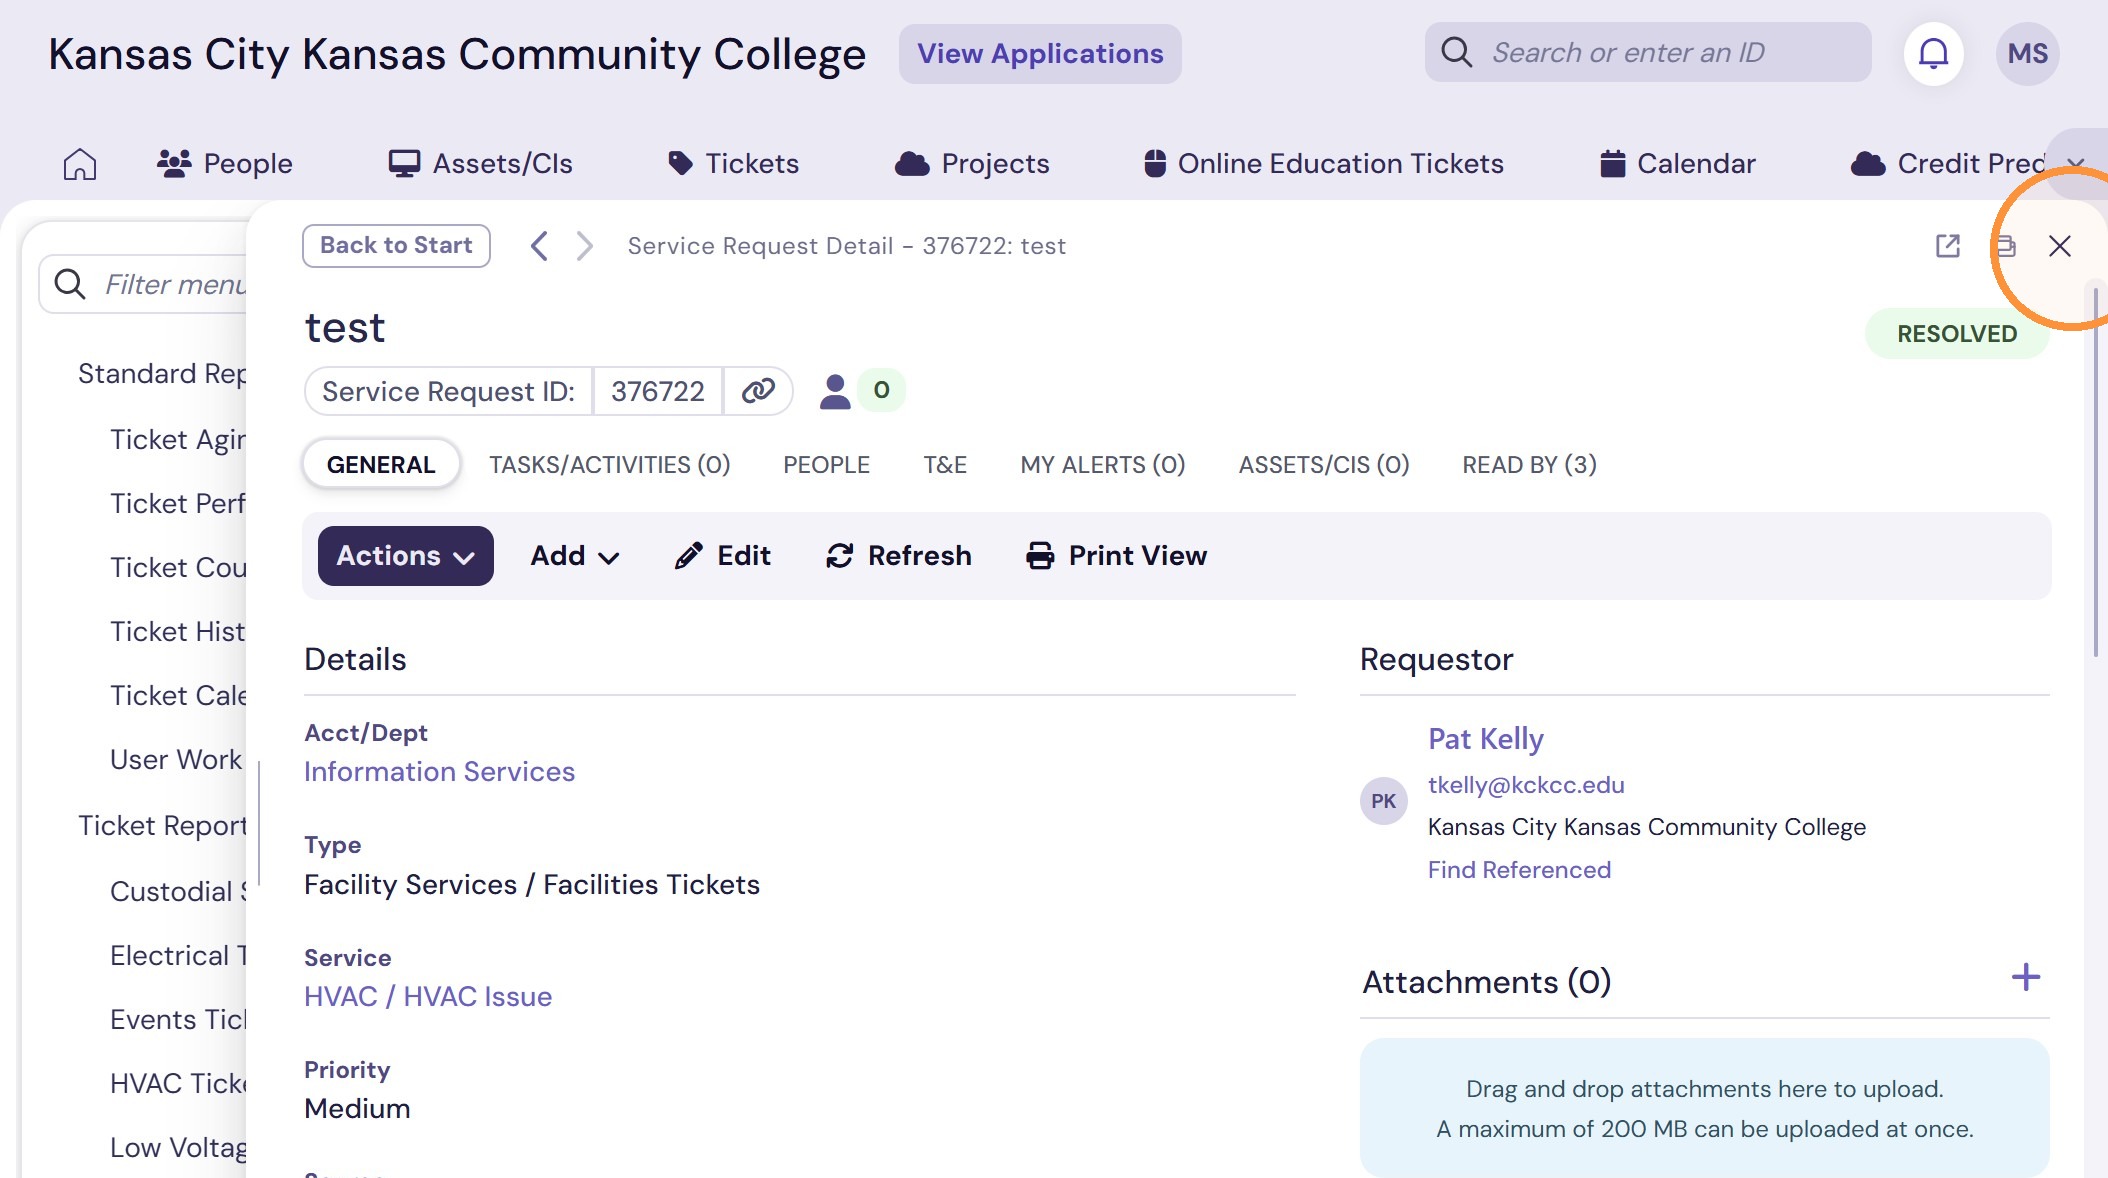
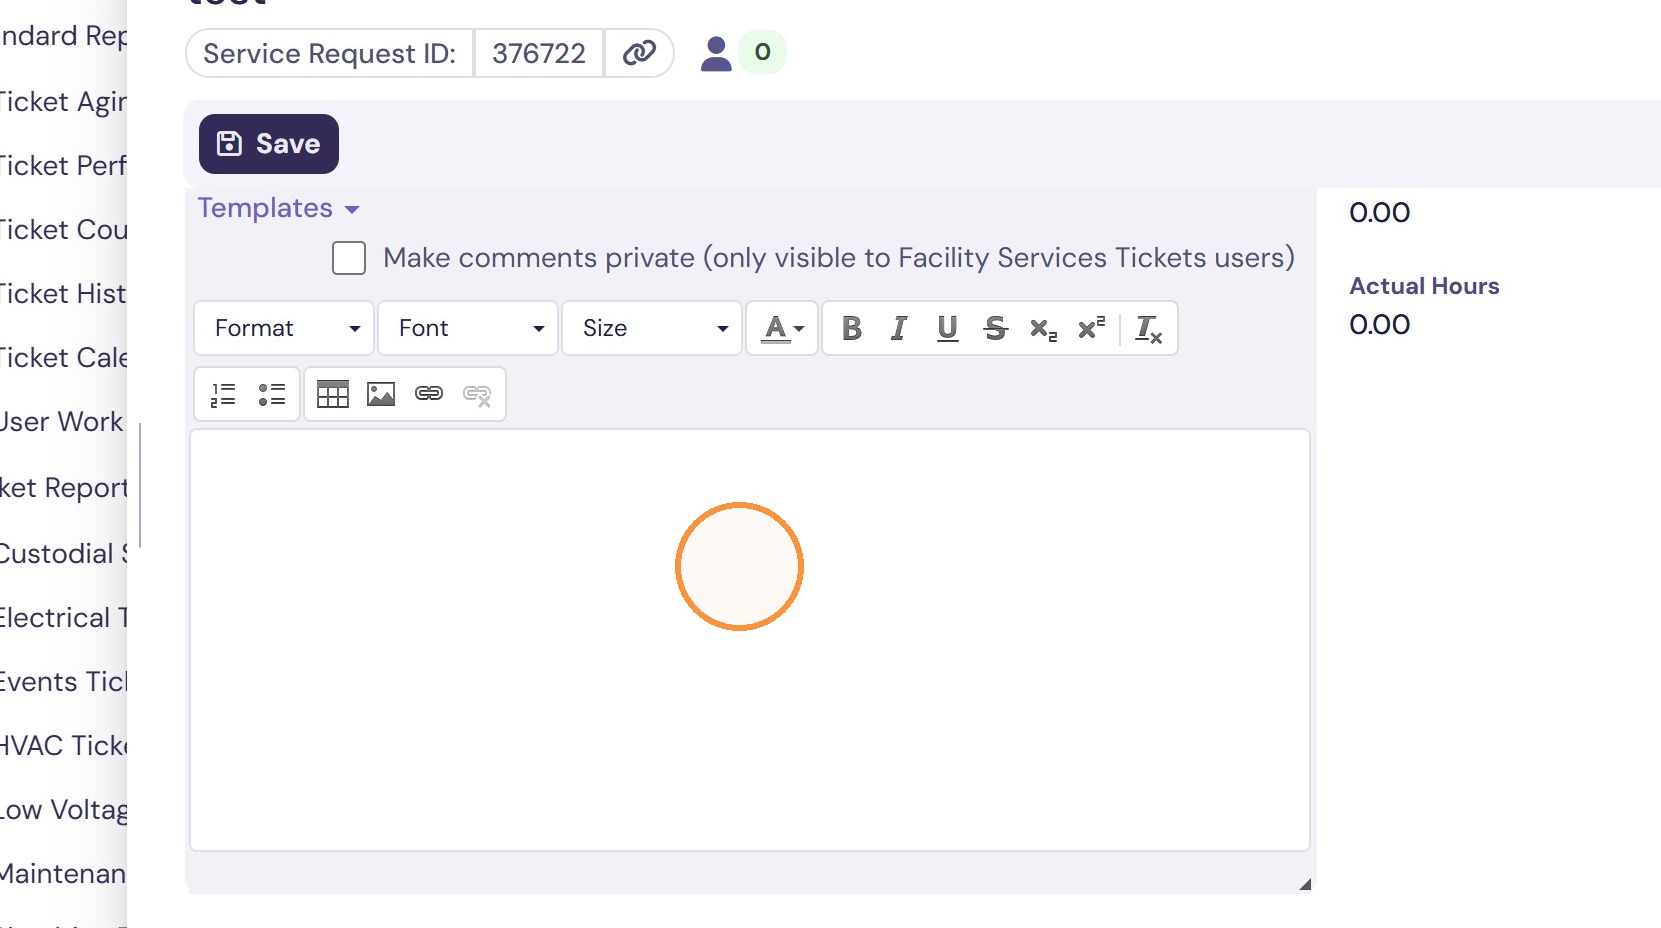
16. Click the "Comments" box and enter a brief description of work done.
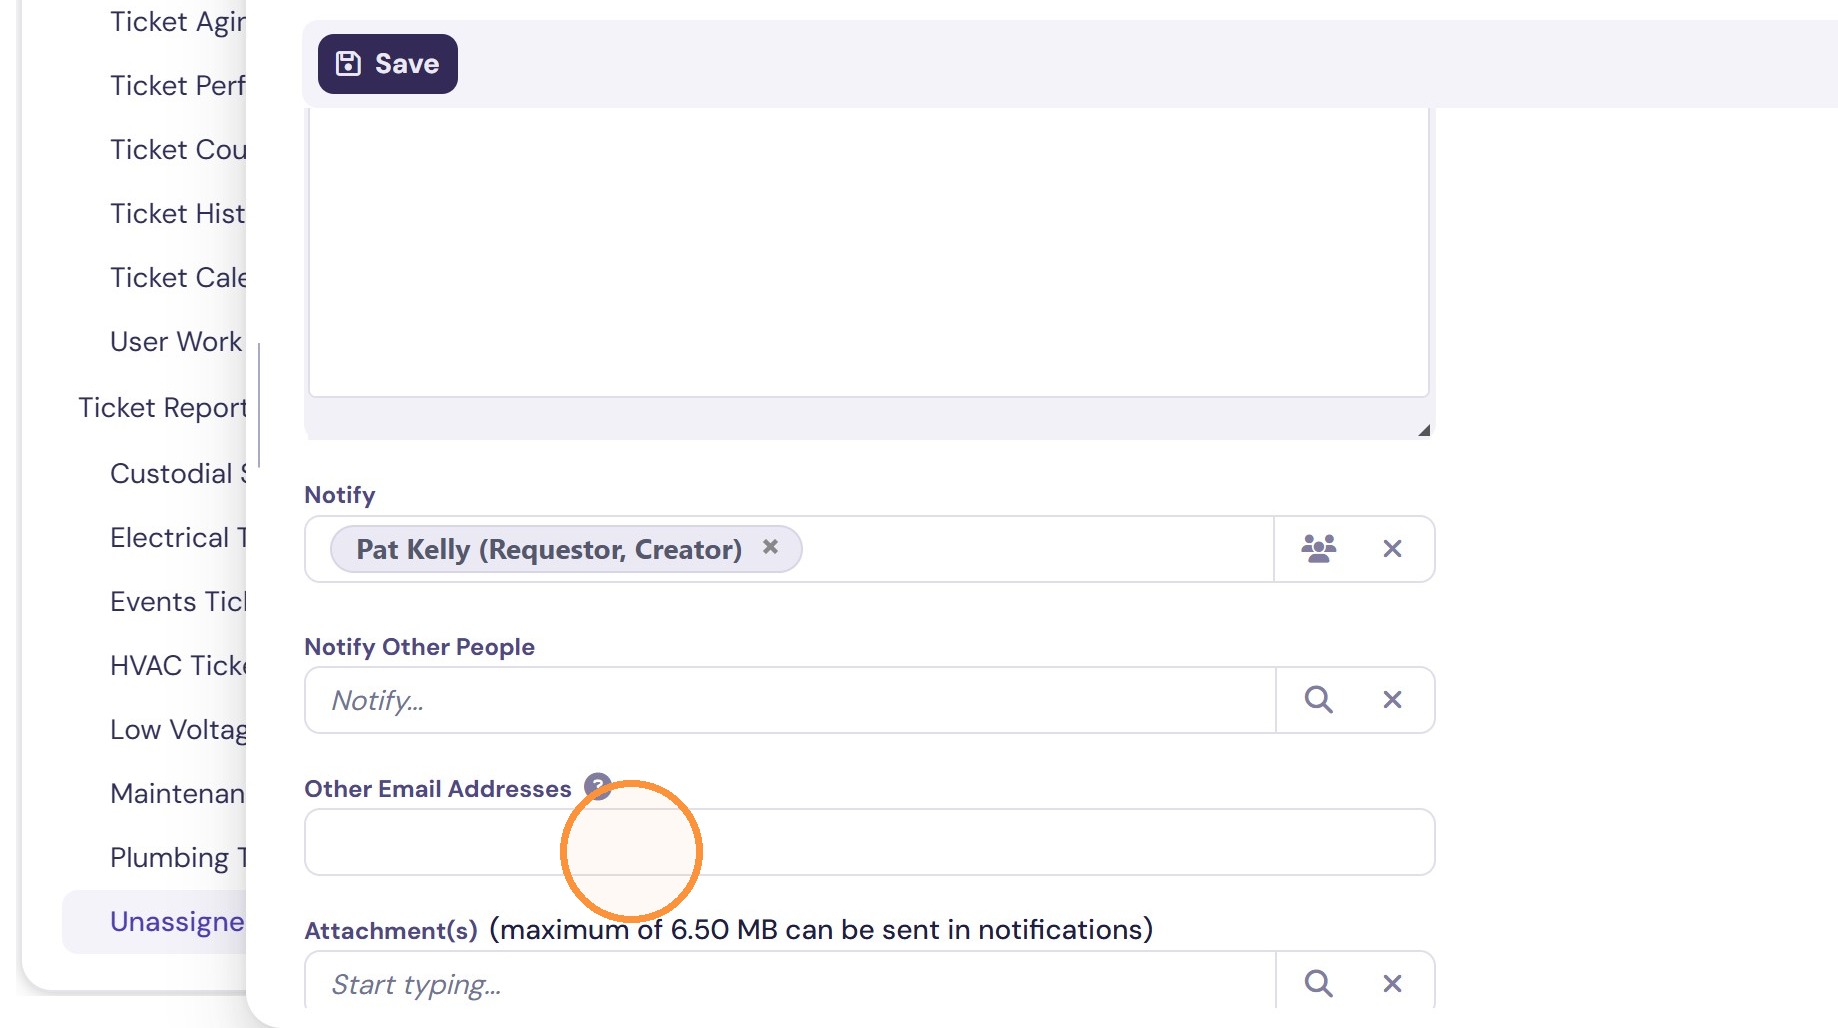
17. If you wish to add notifications for people other than yourself and the person who requested the ticket, add their email address into "Other Email Addresses" if they are outside the College, or add their name under "Notify Other People" if they are part of the College.
18. Click Save to save your progress.
19. Click in the corner of the ticket detail window to close the window. You have successfully taken responsibility for and resolved the ticket.