Body
The point of this article is to walk you through the process of how to replace the non-accessible content with accessible content.
1. Navigate to the file that you need to replace within your course. There are two ways to get to the document.
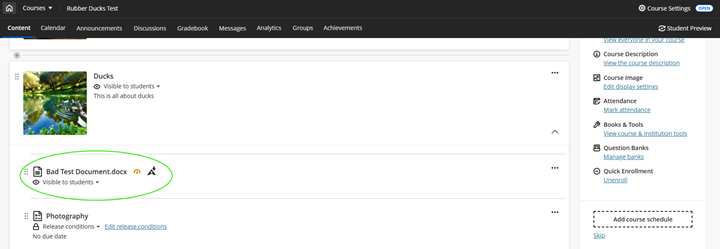
a. Option 1- Find the content within the course content section.
b. Option 2- Find the content within the Ally report.
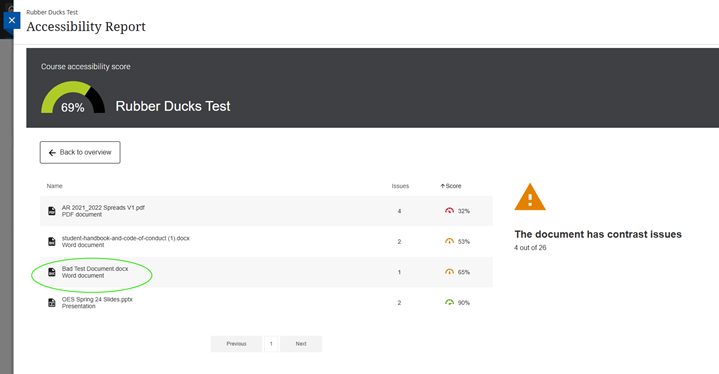
2. Click on the file name.
a. Option 1- Click on the colored gauge.

b. Option 2- Click on the colored gauge, or the file name.

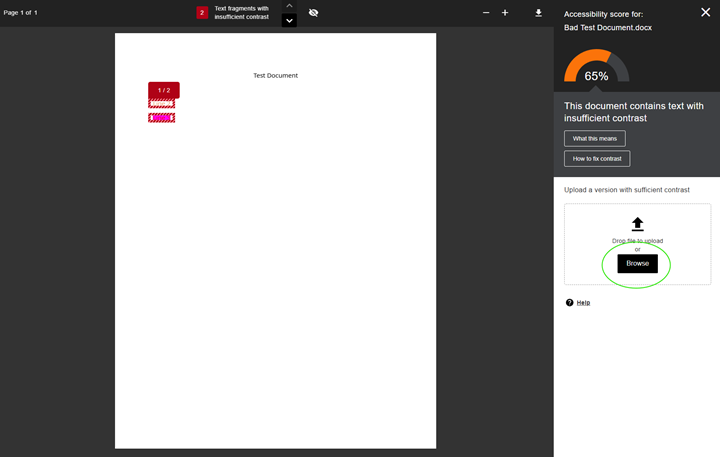
3. A document preview will appear, along with information about the document that needs to be fixed. Click on the “Browse” button.
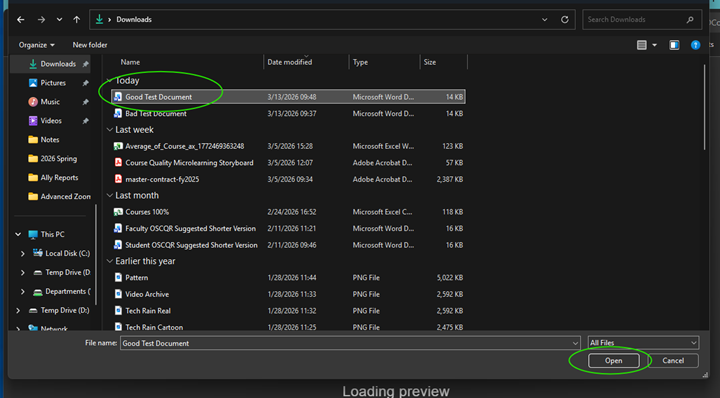
4. A file explorer window will appear. Navigate to the file that has been made accessible and open it.
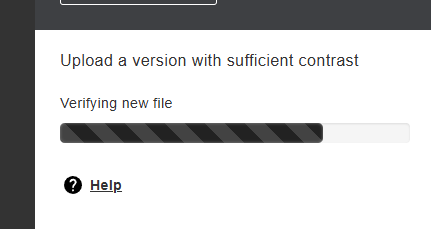
5. The new document will be uploaded and processed. Please wait for the progress bar to finish loading.
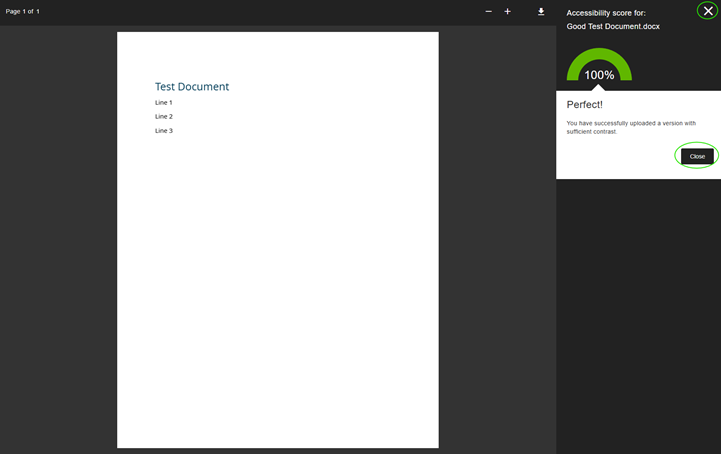
6. Once the progress bar has finished, the document score should go to 100% or raise based on what was fixed within the document. Now the that the non-accessible document has been replaced with the accessible document, you can now close this area by clicking on the “Close” or “X” button. You are now done with this document and can move on to another if you would like.