Steps:
1. Log into Blackboard Ultra.

2. Go to the course that you would like to upload the photo to.
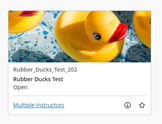
3. Go to the area within the course, such as a module or file where you would like the image to live.
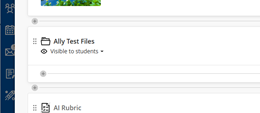
4. Hover the mouse over the gray plus sign. As the mouse hovers over, the sign will turn purple. Click on the purple plus sign. Once the purple plus sign has been clicked, a dropdown menu will appear.

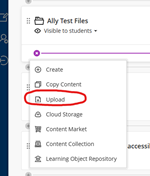
5. From the dropdown, click on the “Upload” option.
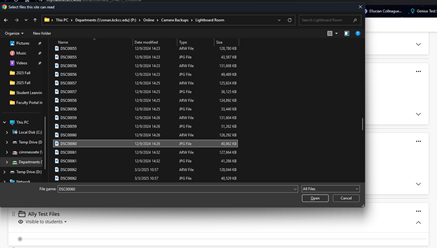
6. The file explorer will appear. Navigate to the picture you are trying to upload. Once you have found the picture, click on the file and click the “Open” button. This will upload the picture to your Ultra course.
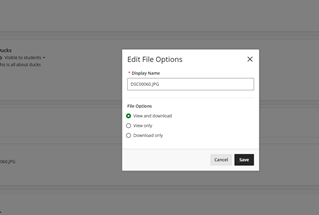
7. Once the photo has been uploaded, a popup will appear. Here you can change the name of the file, as well as set the options for it. Once the file settings are set, click on the “Save” button.
8. Shortly after the picture has been uploaded, an accessibility score will be applied to the image file. The time it takes this score to appear will vary depending upon how complex the image file is.
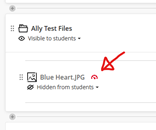
9. If you hover the mouse cursor over the red gauge, it will inform you about the accessibility score being low. Click on the gauge and an image description creator will appear.

10. To have the AI generated a description of the image for you, click on the “Auto-generate description” button.

11. Now that the AI image description has been generated, it is time to review what the AI has written and make any necessary changes.

12. Once you approve of the image description, click on the “Add” button.

13. Now that the description has been added, the accessibility score will go up to 100%.

14. You can now close out of the image description creator tool. To do this, simply click on the white “X” on the upper right browser window; or the “Close” button.

15. Now that the image description has been set, change the status of the image from “Hidden from students” to “Visible to students”. The picture is now ready to be used in your course.
